
You're standing in a half-finished room, the sink is boxed up, the drywall dust is everywhere, and you're trying to figure out whether the crew is on track or just busy. Most Tyler homeowners aren't asking for a lesson in process control. They're asking a simpler question, will this remodel come out right, and who's catching mistakes before they cost me time and money?
That's what a quality assurance process is supposed to answer. In residential remodeling, it's the set of checkpoints, inspections, documentation, and follow-through that keeps a project from drifting into surprise costs, missed details, and avoidable callbacks. The best systems are preventive, not reactive, and that idea has deep roots in statistical process control, which started with control charts in 1924 by Walter A. Shewhart at Bell Telephone Laboratories, using measured variation to separate normal noise from special-cause defects (quality assurance and control charts overview). In plain English, QA is about proving the job is still under control before the problem gets buried behind tile or trim.
Table of Contents
- What Homeowners Mean When They Ask About QA
- The Core Idea Behind a Quality Assurance Process
- The Five Stages of a Remodeling QA Process
- Inspections and Checklists You Should See on Site
- How QA Catches Scope Drift Before It Becomes a Cost
- Communication as the Hidden QA Layer
- Warranties and Post-Install Support That Close the Loop
- Questions Every Homeowner Should Ask Before Signing
What Homeowners Mean When They Ask About QA
A homeowner usually doesn't say, “Tell me about your quality assurance process.” They say, “How do you make sure the shower pan won't leak?” or “Who's checking the cabinets before the backsplash goes in?” Those are QA questions, even if nobody uses the acronym.
The checkpoints hidden inside a normal remodel day
On a typical jobsite, QA shows up in the small moments. The lead carpenter verifies layout before a wall is closed, the plumber confirms rough-ins are where the fixtures need them, and the project manager checks whether today's work matches the written scope. That's not paperwork for its own sake, it's a way to keep the job from drifting past the point where corrections get expensive.
Practical rule: if a detail won't be visible later, it needs a check before it gets covered.
Homeowners care about three things most of all, and QA is supposed to protect all three. First, cost, because surprise changes can snowball. Second, schedule, because delays are disruptive even when the work is good. Third, workmanship, because a beautiful finish doesn't matter if the substrate, flashing, or layout was handled carelessly.
A solid QA process translates the contractor's promise into repeatable behavior. That's why ISO 9001, first issued in 1987, became so widely adopted, with the International Organization for Standardization reporting over 1 million certificates in more than 170 countries and economies in recent reporting years, because it standardizes documentation, corrective action, and continual improvement (ISO quality management background). Home remodeling isn't the same as factory work, but the logic is similar. Good outcomes come from a system, not from hope.
What a homeowner should actually look for
You don't need a binder. You need evidence that someone is checking the right things at the right time.
- Scope matched to budget: The written plan should reflect what you asked for, not just a rough verbal promise.
- Visible checkpoints: There should be moments before demo, before drywall, and before final completion where someone verifies the work.
- Named ownership: Someone on the contractor's side should be accountable for catching mistakes, not just building fast.
If those things are missing, the project may still look organized from the outside, but it's running on trust alone. That's a weak QA setup.
The Core Idea Behind a Quality Assurance Process
A quality assurance process starts before anyone opens a wall. On a remodel in Tyler, that means the cabinet order is checked against the measurements, the outlet plan is checked against the appliance layout, and the tile pattern is checked before thinset ever hits the floor. The point is simple. Catch the mistake while it is still paperwork, not after it becomes sawdust and a change order.

Quality gets built into the plan first
A kitchen remodel shows the idea clearly. If the sink location, appliance clearances, and cabinet run are decided early, every trade has the same target to work from. That is requirements traceability in plain terms, the job has defined expectations, those expectations are checked in the field, and the results are documented before the next phase moves ahead. The EPA describes QA as an integrated system that includes planning, implementation, assessment, reporting, and quality improvement, and that is the right mindset for residential work too, because quality belongs in the plan, not just in the punch list (EPA QA system overview).
For homeowners, that shows up in the small decisions that prevent bigger problems later. A cabinet line that starts correctly keeps the fridge opening clear. A receptacle placed early keeps a backsplash from getting cut around an outlet that should have been moved. A checked layout keeps the finish crew from guessing.
End-of-job inspection is the weakest form of QA
A final walk-through still matters. It gives the homeowner a last chance to flag paint touch-ups, loose trim, missing hardware, and other visible issues.
It does not catch everything. If the framing is out of plane, the wiring is wrong, or the waterproofing detail is weak, the finish can hide the issue for a while and then fail as a stain, crack, or callback. That is why QA works best when it checks the work while the fix is still simple, not after the room is closed up.
The same thinking applies to control points. Industrial quality systems use warning thresholds and escalation steps so someone knows when variation is still acceptable and when it has crossed into a problem. On a remodel, that shows up as clear tolerances, clear inspections, and a clear moment when the foreman stops the crew and corrects the work before it goes any farther. You do not need a control chart taped to the wall, but you do need the habit behind it.
Bottom line: if the contract says one thing and the field work says another, the QA system failed somewhere upstream.
The Five Stages of a Remodeling QA Process
A remodel does not rise or fail in one inspection. It moves through a sequence, and quality has to be checked differently at each step. A contractor who respects that timeline is less likely to let a small miss turn into expensive rework.

Discovery and estimate
Some projects start with clear expectations. Others start with a stack of wish list items that do not match the space or the budget. QA begins by checking that the homeowner's goals, the rough scope, and the available budget fit together before drawings or pricing move too far.
If those pieces are off, the project needs a reset. Otherwise the team spends time refining a plan that cannot be built the way the homeowner expects, and the problems show up later as change orders, delays, or cut corners.
Design and selections
Once the layout and finishes enter the discussion, QA becomes a decision filter. The right questions are simple: does the selection fit the room, can the lead time support the schedule, and does the product match how the space will be used?
A finish can look right in the showroom and still create trouble on site. I see that most often with bathroom materials, where a tile choice, a fixture, or a trim detail looks good on paper but runs into substrate requirements, slope issues, or installation limits once the work starts. QA at this stage keeps the team from approving a product that creates a problem the field crew has to solve later.
Pre-construction planning
This handoff needs clean information. Site prep, trade sequencing, and permit expectations should be settled before the first demolition hammer swings. If the contractor is organized, the homeowner should also know who handles day-to-day coordination and what the first inspection points will be.
That is the stage where bad assumptions get exposed. A measured plan, a real scope sheet, and a clear sequence give the crew a way to check work before it gets buried, which is far cheaper than reopening finished walls. A useful reference for homeowners comparing remodel planning is this guide to a final walkthrough checklist, because the same discipline that protects the end of a project usually starts much earlier.
Construction and closeout
During active construction, QA is mostly confirmation and correction. Framing, rough-ins, waterproofing, and finish work should each be verified before the next layer covers them. On a good job, that means someone is checking the work while it is still easy to fix, not after a cabinet is hung or a shower is tiled over a missed detail.
Closeout is the last pass, and it matters for a different reason. The final punch list, cleanup, and owner walkthrough confirm that the job matches the agreed scope, not just what the crew believed it completed. That is where cosmetic misses get written down, functions get tested, and any remaining items get tied back to the original scope instead of treated as a favor.
The logic is straightforward. The earlier a defect is caught, the less it disturbs the rest of the job.
Inspections and Checklists You Should See on Site
Bathroom work is where homeowners can see QA most clearly because the sequence is tighter and the stakes feel higher. A shower can look fine on day one and fail badly later if waterproofing, slope, or rough-in details were handled casually. Good inspections keep that from happening.
The sequence that protects the hidden work
The first check should happen before demo or immediately after opening the walls, because what's behind the surfaces matters. Then the rough-in plumbing and electrical need to be verified before insulation or drywall closes the cavity. Waterproofing, backer board, tile substrate, and final trim all deserve their own check because each step depends on the one before it.
| Stage | Primary Verification | Who Attends |
|---|---|---|
| Pre-demo | Existing conditions, access, utility shutoff | Contractor, homeowner if needed |
| Rough-in | Pipe placement, wiring layout, fixture rough locations | Trade lead, project manager |
| Waterproofing | Membrane coverage, corners, penetrations, slope | Contractor, sometimes inspector |
| Pre-drywall | Blocking, outlet heights, framing corrections, moisture barriers | Contractor, homeowner if invited |
| Tile and finish | Substrate readiness, layout alignment, trim fit | Contractor, project manager |
| Final punch list | Cosmetic issues, function, cleanup, homeowner concerns | Contractor, homeowner |
What to ask at the pre-drywall walk
The pre-drywall walk is one of the most valuable moments in the whole job. By then, you can still confirm blocking locations, outlet heights, nail patterns, and moisture barriers before the walls are sealed up. Ask how the team documented the rough-in, what still needs correction, and whether the remaining work will change any visible layout.
Good QA question: “What's being checked now that I won't be able to see later?”
That question forces the contractor to talk about the hidden layers, which is exactly where many remodeling failures begin. It also separates a real QA process from a crew that's just moving quickly and hoping the finish work covers everything.
What city inspection and contractor inspection are not the same thing
Some stages are code-driven, some are contractor-driven, and some are done purely for the homeowner's benefit. A city inspector may care whether the work meets code. The contractor should care whether the work meets the plan, fits the selections, and lines up with the finished product the homeowner expects. Those are related, but they're not identical.
How QA Catches Scope Drift Before It Becomes a Cost
A homeowner changes the plan halfway through all the time. The problem isn't the change itself. The problem is when the change gets treated like a casual favor instead of a documented decision.
A classic example is a kitchen island that gets rerouted after electrical rough-in. If the homeowner wants the island moved, a good QA process starts by checking whether the new location affects outlets, lighting, cabinet layout, appliance clearances, or inspection timing. Then the contractor documents the revision, reviews the schedule impact, and updates the price before work resumes.
Why “just do it” can be the wrong answer
In a weak system, the crew might adjust first and sort out the details later. That feels flexible in the moment, but it creates hidden rework and disputes when the final bill comes due. In a strong system, the contractor is protecting both sides by forcing the change through the same control path as the original scope.
That's where requirements traceability becomes practical. The homeowner's request gets mapped to the affected work, the cost impact is clarified, and the approval is written down before the next trade starts. If the change is large enough, it also feeds into corrective action, so the same kind of drift doesn't repeat later in the project.
For homeowners navigating whether the work needs municipal approval, this kitchen remodel permit guide for Tyler is a useful reminder that changes can affect more than just finish selections.
Rule of thumb: the farther the project has advanced, the more expensive an unapproved change becomes.
That's why contractors who slow the job down for a day to document a revision aren't being difficult. They're preventing a mess that could be much harder to unwind after tile, paint, or trim are already locked in.
Communication as the Hidden QA Layer
A remodel can pass every technical check and still frustrate the homeowner if communication breaks down. No one enjoys guessing whether work is happening tomorrow, waiting for a callback that never comes, or learning about a change order after the fact. QA isn't complete unless the communication pattern is reliable too.
What healthy communication looks like
A strong project usually has a single point of contact, a predictable update rhythm, and a shared understanding of what's happening next. The update doesn't need to be fancy. It needs to answer what got done, what's coming up, whether any decisions are needed, and whether anything is blocking progress.
Quality isn't only about defects. It's also about the lived experience of the job. Industry guidance on QA emphasizes process control, documentation, and corrective action, but homeowner pain often shows up in the gaps between trades, scheduling, and decision handoffs (ISO quality management overview).
If you're screening contractors in East Texas, this Tyler contractor resource helps frame the right expectation, because responsiveness is part of quality, not a bonus feature.
Red flags that show weak QA early
- No single owner: If three different people answer different questions, accountability is muddy.
- Missed updates: Silence during active work usually means something is slipping.
- Loose answers on changes: If nobody can explain how a revision gets approved, scope drift is likely.
The best communication habits do more than keep the homeowner calm. They surface problems early enough for the crew to fix them while the work is still accessible. That's real QA, even if it never appears on a punch list.
Warranties and Post-Install Support That Close the Loop
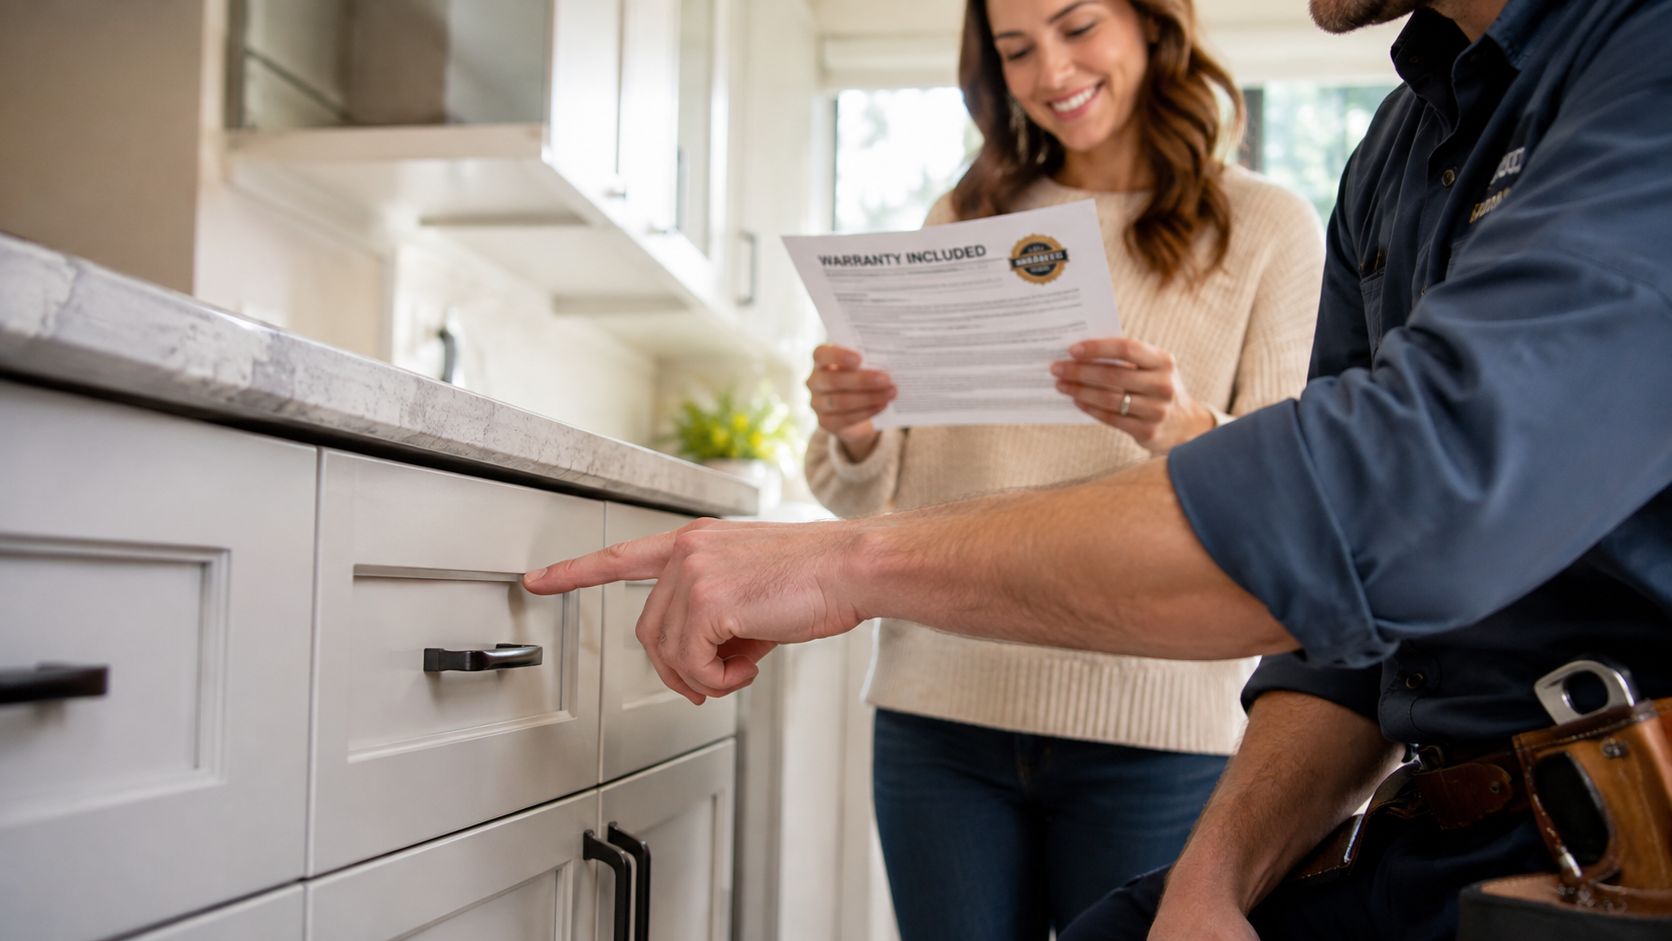
A project isn't finished when the final walk-through ends. The warranty period is where the job proves whether the workmanship was solid enough to live with, settle, and age normally. If a contractor disappears after completion, the QA process was incomplete.
Workmanship and manufacturer warranties do different jobs
A workmanship warranty means the contractor stands behind the labor. A manufacturer warranty means the product maker stands behind the material. Homeowners need both, because a cracked caulk line, a loose hinge, or a failing fixture can come from different causes, and the fix should follow the right responsibility.
What to expect after move-in
The first months often reveal normal settling, touch-up paint needs, or minor adjustments that only show up once the space is used daily. In wet areas, caulk can need attention. Cabinet doors can need fine-tuning. A service-minded contractor treats those visits as part of the quality loop, not as a nuisance.
If you're planning to compare options before signing, keep this in mind. The existence of a warranty matters less than how the contractor handles a warranty call. Fast acknowledgment, clear scheduling, and a documented repair path matter more than vague promises made at the start.
What belongs in the post-install file
- Warranty terms: Know what labor is covered and for how long.
- Product documentation: Keep manufacturer info for the installed items.
- Service contact: Know exactly who to call if something shifts or fails.
A solid closeout doesn't end with a handshake. It leaves the homeowner with a clear path for support if something needs attention later.
Questions Every Homeowner Should Ask Before Signing
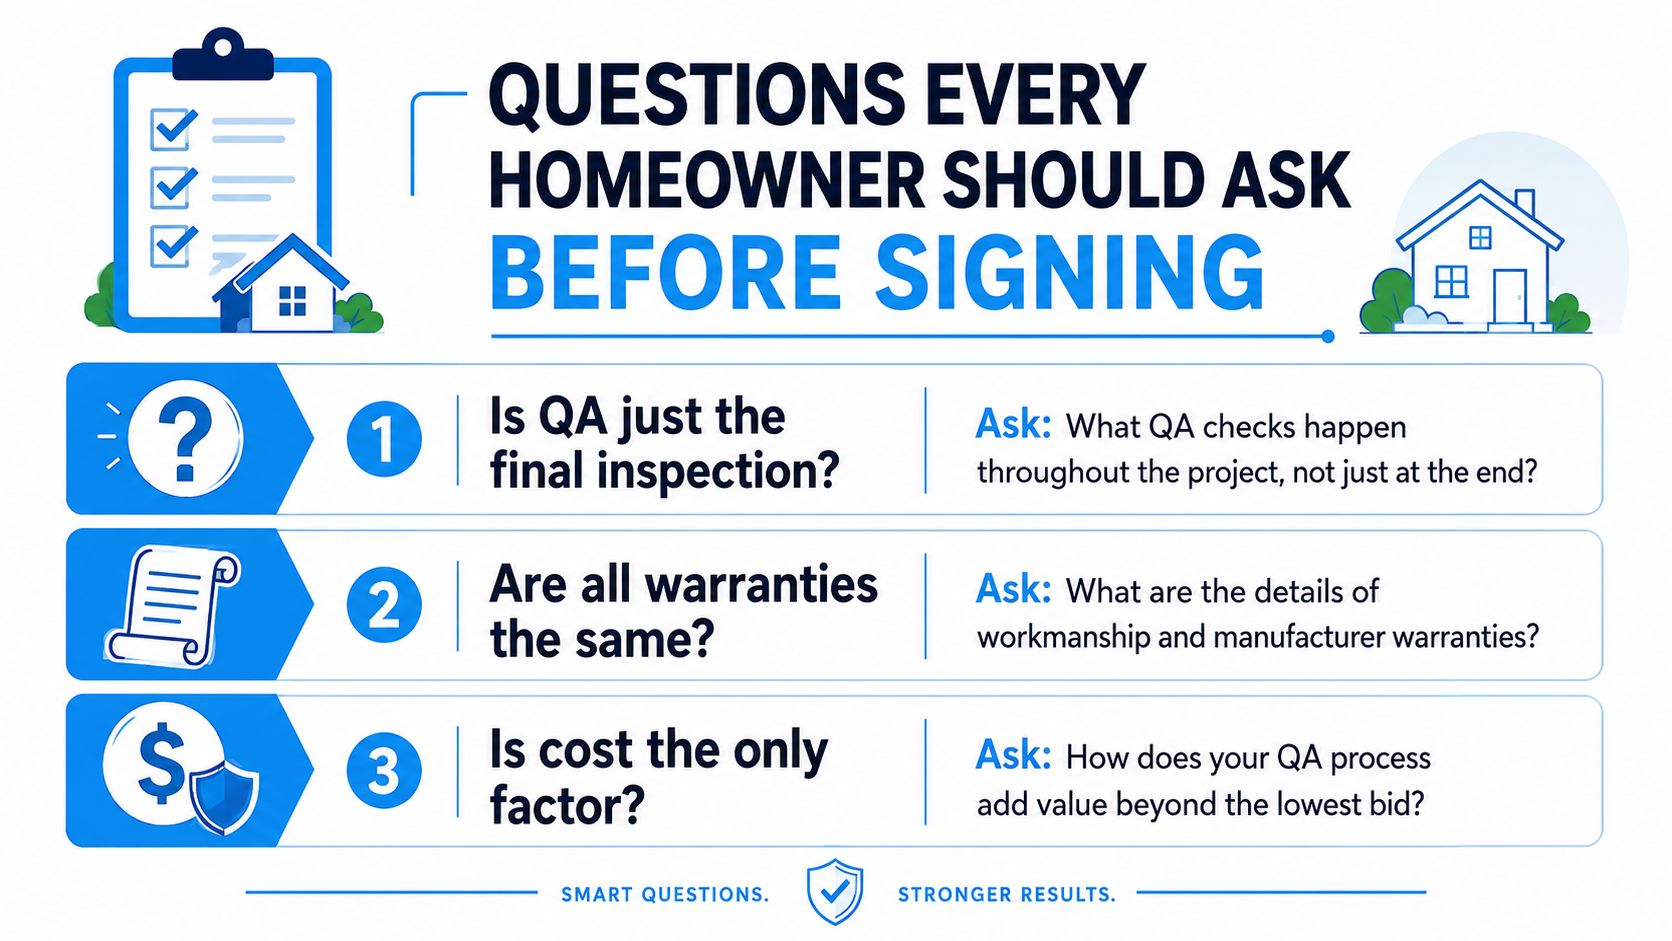
Three myths create a lot of regret in remodels. The first is that QA is just the final inspection. The second is that every licensed contractor runs the same process. The third is that a warranty proves quality by itself. None of those are true.
Ask these three questions before you commit
Is QA just the final inspection? Ask what checks happen throughout the project, not just at the end. If the answer is vague, the contractor may be relying on finish work to hide earlier misses.
Are all warranties the same? Ask how workmanship and manufacturer coverage are handled, who responds to a problem, and what the reporting process looks like. A warranty without a service path is weak protection.
Is cost the only factor? Ask how the QA process adds value beyond the lowest bid. A cheaper price can look good until rework, delays, or poor coordination start piling up.
What a real QA process should be able to show you
Before you sign, ask to see a written QA process, the inspection sequence, the point of contact, and the warranty and service-support terms. You should also be able to tell who owns the pre-drywall review, who signs off on change orders, and how issues get documented if something doesn't match the scope.
A contractor doesn't need to impress you with jargon. A good one can explain how the work gets checked, how changes are approved, and how support works after completion. That clarity is usually a better sign than a polished sales pitch.
If you want a remodel team that treats quality as a system instead of a slogan, Home Pro's Remodeling & Repairs brings that discipline to East Texas projects every day. Visit Home Pro's Remodeling & Repairs to talk through your project, compare scope against budget, and get a clearer plan before work starts.