
You're standing in a nearly finished space, the smell of fresh paint is still in the air, and the project looks close enough to call done. That's exactly when the final walkthrough checklist matters most, because the last inspection is where small oversights turn into real delays, warranty disputes, or awkward phone calls after closing. In home purchases, that final pass happens after inspection but before ownership transfers, which is why it's the last practical chance to confirm repairs, fixtures, appliances, and cleanup are all exactly as agreed. In remodels, additions, and new-construction handoffs, the same logic applies, verify the work, document what you see, and close out the job with confidence.
Table of Contents
- 2. Electrical Systems and Safety Compliance
- 2. Electrical Systems and Safety Compliance
- 3. Plumbing Installation and Water Supply Verification
- 4. HVAC, Ventilation, and Air Quality Systems
- 5. Roofing, Exterior Sealing, and Weatherproofing
- 6. Interior Finish Quality, Paint, and Surface Inspection
- 7. Fixture Installation, Operation, and Functionality Testing
- 8. Permits, Inspections, and Regulatory Compliance Documentation
- 8-Point Final Walkthrough Comparison
- Completing Your Project with Confidence and Partnership
2. Electrical Systems and Safety Compliance

A final walkthrough is the right moment to test the electrical work the way the client will use it. Flip every switch, plug in a small load at each outlet, check every dedicated appliance connection, and confirm that the panel is labeled in a way that makes sense to the next electrician who opens it. Buyer guides and contractor checklists also recommend walking the whole project, including toilets, faucets, lights, outlets, doors, windows, appliances, HVAC, and repairs during the closing inspection, and that same system-by-system habit matters even more after new circuits, a service upgrade, or panel work.
The point is simple. Electrical finishes can look complete while still hiding a bad connection, a missed breaker, or a circuit that was tied in too quickly. Catching that during the walkthrough gives the contractor a clean chance to correct it before the project is signed off, which is the right way to finish a design-build job.
Kitchen work deserves extra attention because the load is heavier and the margin for error is smaller. A dishwasher, microwave, refrigerator, and disposal should all behave like they were planned into the space from the start, not squeezed into a circuit that was already stretched. Bathroom and exterior devices need the same discipline, with GFCI protection where moisture is part of normal use.
The panel should get a careful look as well. Breakers should be labeled clearly, the layout should match the work that was completed, and any new installation should look organized enough to support future service without guesswork. If the project included a panel upgrade, the homeowner should also have the inspection and permit records in hand before closing the file.
For additions and remodels, the best electrical walkthroughs line up with the larger project schedule. Home Pro's guidance on how long a home addition takes reflects the same practical reality, electrical checks belong in the same controlled finish process as the rest of the work, not as an afterthought once everyone is trying to leave the site.
- Test function under real use: Every outlet, switch, fixture, and appliance connection should respond the way it will after move-in.
- Check protection where water is present: Kitchens, bathrooms, laundry areas, and exterior locations should have the right protection in place.
- Review the panel and labels: The breaker schedule should be readable, accurate, and tied to the actual circuits in the building.
- Confirm the paperwork: Permit sign-offs and inspection records should match the electrical scope that was completed.
A good final walkthrough is a shared quality check, not a fight. The contractor proves the work was completed to the standard promised, and the client gets a clear chance to verify safety, function, and finish before the project closes.
2. Electrical Systems and Safety Compliance
Electrical work deserves a hands-on test, not a quick glance at switch plates. The standard at walkthrough is simple, every outlet, switch, fixture, and dedicated appliance connection should function safely and predictably. Major buyer guides and contractor checklists recommend testing all toilets, faucets, lights, outlets, doors, windows, appliances, HVAC, and repairs during the walkthrough, and that same system-by-system mindset is even more important when new circuits or panel work were part of the job. The broader home-buying guidance also notes that about 1 in 20 final walk-throughs, or 5%, uncover problems serious enough to delay or derail closing FastExpert's walkthrough overview, which is exactly why electrical issues should never be waved off.
For kitchens, the common misses are dedicated circuits and appliance hookups. A dishwasher, microwave, refrigerator, and disposal each need to behave like they belong there, not like they were forced into a crowded panel. For bathrooms and outdoor spaces, GFCI protection matters, especially where moisture is part of daily use.
A thorough pass should include the panel too. Labels should make sense, the breakers should identify the right circuits, and any new work should look like it was installed by someone who cared about future service calls. If there was a panel upgrade, the homeowner should get photos, labels, and inspection sign-off in the handoff package.
Test the power at the point of use. A fixture that looks fine but trips under load is a real defect, not a cosmetic concern.
Useful checks include:
- Every outlet and switch: Test with a circuit tester and confirm the correct device is controlled.
- GFCI protection: Press the test and reset buttons in kitchens, baths, garages, and exterior areas.
- Light fixtures: Verify secure mounting, clean wiring terminations, and no flicker or delay.
- Appliance circuits: Run the actual equipment, not just the breaker.
A contractor who finishes electrical work properly won't treat this as nitpicking. This is the last chance to confirm the system is safe before the space goes into full-time use.
3. Plumbing Installation and Water Supply Verification
Plumbing should be boring at the walkthrough, which is exactly why it deserves close attention. If you hear gurgling, see moisture under a sink, or notice a slow drain, the job isn't finished yet. The final check is about pressure, drainage, shutoff access, and leak-free connections, especially in kitchens, bathrooms, laundry rooms, and any area where fixtures were moved or added.
On a bathroom renovation, the basics matter more than fancy finishes. Toilets should flush cleanly, sinks should drain without backing up, and shower and tub supplies should feel balanced. On kitchen projects, a sink base can hide a lot of mistakes, from loose trap assemblies to poorly sloped drain lines, so open those cabinet doors and look underneath.

One practical habit saves a lot of callbacks, run water long enough to expose slow problems. A quick splash test won't reveal a loose fitting that starts weeping after sustained flow. The same goes for hot water, which should reach fixtures in a way that feels consistent and usable, not delayed or uneven.
For projects with relocated fixtures, the conversation should also include access. Shutoff valves need to be reachable, clean-outs should stay available, and anything hidden in a wall or cabinet should already have been photographed before closing up the finishes. That kind of documentation helps if maintenance is needed later, and it's a standard part of good contractor handoff.
- Run each fixture fully: Don't just turn it on and off, let it move under normal use.
- Check drains under load: Full sink flow, shower flow, and toilet flushes can expose slope or venting problems.
- Inspect supply lines: Look for drips at valves, traps, and connections beneath vanities and sinks.
- Confirm access points: Shutoffs and clean-outs should stay serviceable, not buried behind finish work.
A plumbing defect found now is annoying. A plumbing defect found after move-in can become expensive fast, especially if it hides inside a wall or cabinet run.
4. HVAC, Ventilation, and Air Quality Systems
Comfort is more than temperature. A well-built space needs air moving correctly, moisture managed properly, and equipment installed in a way that fits the room. In East Texas, where humidity is part of the equation, ventilation matters as much as heating and cooling because poor air movement can set the stage for condensation and long-term damage.
The final walkthrough should confirm that the system works as a complete package. Thermostats need to respond, return air needs to stay unobstructed, and ductwork should be connected cleanly where additions or remodels tied new space into existing equipment. In kitchen upgrades, range hood exhaust should terminate outside, not disappear into a concealed cavity. In bathrooms, exhaust fans should move moisture out of the room instead of just making noise.
A good field check is to run the system long enough to reveal patterns. One room that stays warmer or cooler than the others usually points to airflow imbalance, duct issues, or equipment that wasn't sized or connected properly. Filters should be in place, fans should start without chatter, and any new grilles or registers should sit flush and secure.
If the ventilation only sounds right but doesn't move air effectively, it hasn't passed the test.
This is also where construction handoff discipline helps. The homeowner should know the manufacturer support contact, warranty process, and any maintenance expectations for the unit. That way, the first service call doesn't begin with a frantic search through papers in a kitchen drawer.
A few checks make the difference between a smooth handoff and a return trip:
- Range hood discharge: Verify exterior termination, not attic discharge.
- Bathroom exhaust: Confirm it pulls humidity away, especially in a freshly finished space.
- Return air paths: Make sure vents aren't blocked by furniture, trim, or framing changes.
- Continuous operation: Let the system run long enough to identify uneven performance.
If the air feels right in every room and the equipment behaves the way it should, that's a strong sign the project was integrated correctly.
5. Roofing, Exterior Sealing, and Weatherproofing
Exterior work is where a project either protects the building or exposes it. Roofs, windows, doors, siding, flashing, and caulking all have one job, keep water and air where they belong. In a climate like East Texas, that isn't cosmetic. It's the difference between a durable envelope and a future leak call.
Roof replacements and additions need especially careful review because the weak point is often the transition, not the field of material itself. Where new roof meets old roof, flashing has to overlap correctly, penetrations need proper treatment, and the drainage path should make sense. For windows and doors, the exterior seal should be tight, but the opening also needs to drain properly if water gets behind the trim.
For a practical roofing reference on replacement decisions and project planning, Home Pro's guidance on average roof replacement cost is useful context when a project includes more than surface repairs. The point at walkthrough is not to price the roof again, it's to confirm the installed work matches the scope and the weatherproofing details were handled with care.
Inspect outside after rain if you can. Water shows you what a sunny day hides, especially around dormers, vents, chimneys, and fresh transitions. If rain isn't available, a hose test at windows and doors can still reveal leaks, bad seals, or poor drainage.
A practical exterior review should include:
- Flashing details: Look for complete overlaps around roof penetrations and tie-ins.
- Gutters and downspouts: Confirm they slope and discharge away from the foundation.
- Window and door operation: Open, close, lock, and look for smooth weather sealing.
- Caulking quality: Joints should be clean, continuous, and not smeared or separated.
If the exterior envelope is done right, the home feels sealed without feeling trapped. That balance is what separates a polished project from one that will need touch-ups after the first storm.
6. Interior Finish Quality, Paint, and Surface Inspection
Finish work is where craftsmanship becomes visible. Drywall, paint, flooring, trim, tile, and cabinetry may not affect structural safety the way framing does, but they shape how the whole project feels in daily use. If surfaces are uneven, caulk lines are sloppy, or flooring shifts underfoot, the job doesn't feel complete.
This is the best place in the walkthrough to slow down. Bright light reveals a lot, especially on fresh paint and smooth walls. Look for lap marks, missed coverage, pinholes, corner cracks, and trim that doesn't sit flush. Then walk the floors, listening for squeaks and feeling for movement that could point to poor fastening or subfloor issues.
The same discipline applies to tile and cabinetry. Tile grout should look consistent, shower corners should be sealed cleanly, and cabinet doors should line up without fighting each other. A kitchen with beautiful finishes but misaligned drawer fronts still reads as incomplete. The eye catches that kind of problem instantly, even if a casual glance doesn't.
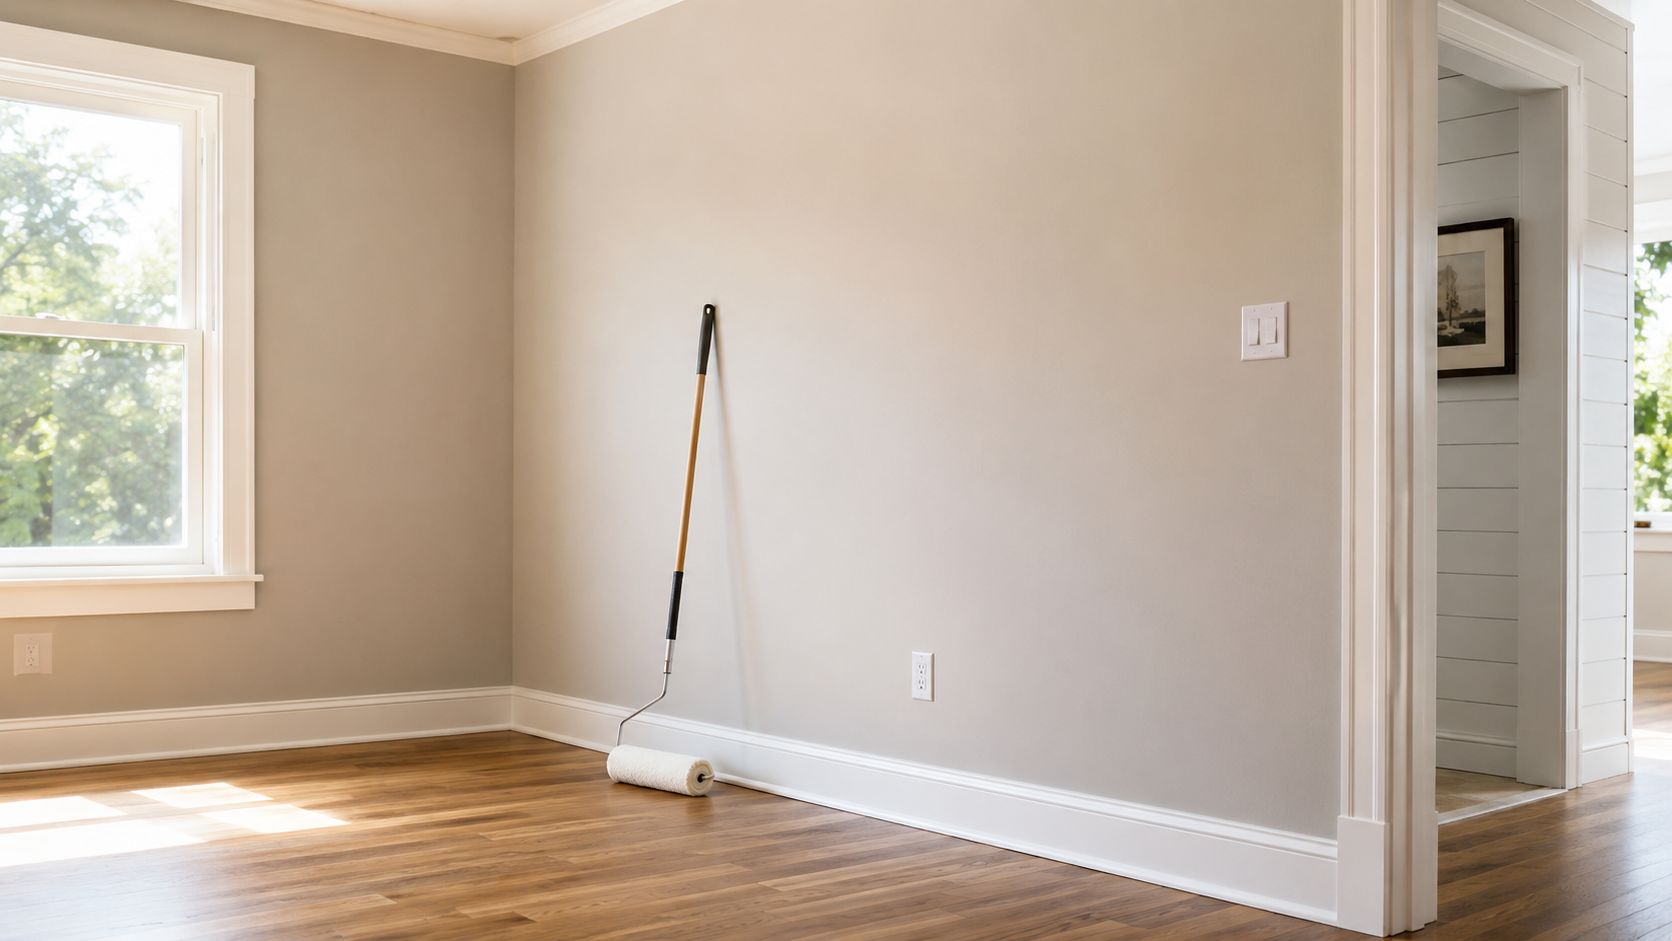
A clean finish review usually comes down to a few specific habits:
- Use strong lighting: Side light is better than overhead light for spotting imperfections.
- Check all seams and joints: Caulk, grout, and trim intersections should read as intentional.
- Open and close everything: Cabinet doors, drawers, and closet hardware should move smoothly.
- Inspect transitions: Flooring and trim transitions should be even and neatly terminated.
Practical rule: if a finish detail catches your eye during a walkthrough, it will probably bother you every day after move-in.
Good finish work is not about perfection in a museum sense. It's about consistency, clean execution, and a level of care that matches the rest of the project.
7. Fixture Installation, Operation, and Functionality Testing
A final walkthrough should prove that every fixture works the way the client will use it. Faucets, toilets, appliances, lights, door hardware, drawers, and other hardware need to do more than look installed. They should operate smoothly, feel solid, and match the function promised in the scope of work.
That means testing them as a user, not just looking at them. Run the faucet through full hot and cold ranges, check spray functions where they exist, and look for leaks at the base and connections. Open cabinet doors and drawers more than once. Work the handles, hinges, and latches in real use, because a sticky door or a binding drawer usually points to alignment or installation issues, not random bad luck.
Appliances need the same discipline. Run the dishwasher if the job setup allows it, test the oven and cooktop, and listen for vibration, noise, or signs that a connection was left incomplete. Lights should respond cleanly at the switch, and any dimmers or multi-setting fixtures should cycle without flicker, delay, or uneven response.
A contractor who stands behind the handoff expects this kind of testing. It shows the work was built for daily use, not just for photos. If something fails, note it immediately and identify whether the problem comes from the installation, the product, or both.
- Faucets: Check temperature, pressure, spray patterns, and leaks at the base.
- Toilets: Confirm stable mounting, flush performance, and refill behavior.
- Cabinetry: Look for smooth operation, even reveals, and secure hardware.
- Lights and switches: Verify each control does exactly what it should.
- Appliances: Run them through normal functions, not just power-up.
When fixtures feel right, the space starts behaving like a finished home instead of a construction site.
8. Permits, Inspections, and Regulatory Compliance Documentation
Paperwork is part of the build, not an afterthought. The final walkthrough should confirm that all required permits were pulled, inspections were completed, and the homeowner receives a clean file with the records that protect the project. That matters for future resale, insurance questions, warranty claims, and simple peace of mind.
This is especially important when the project includes kitchen electrical changes, plumbing updates, roof work, additions, or any structural modification. Homeowners often focus on what they can see, but the records show whether the project was finished under the right oversight. For a kitchen-specific example of why permit questions matter, Home Pro's guidance on whether you need a permit for a kitchen remodel is a smart place to understand the process before closing out a job.
A strong documentation package should be easy to hand to a future buyer or service technician. It should include permits, final approvals, warranty information, manuals, and any trade-specific paperwork that goes with the work. If lien releases apply to the job, those should be collected too so the owner isn't left tracking loose ends later.
The ideal handoff is simple. The client can open one folder and see that the job was approved, documented, and closed correctly. That's how a contractor reduces friction after the crew leaves.
Keep the closeout file organized: if a document matters to code, warranty, or resale, it belongs in the homeowner's package before final sign-off.
A few items belong in every closeout review:
- Permit copies: Keep them with the project records, not buried in email.
- Inspection sign-offs: Final approvals should be easy to verify.
- Warranty and manual packets: Equipment and finish products need clear ownership records.
- Lien releases: When applicable, collect them before final payment.
A project feels complete when the work is finished and the paper trail is clean. That combination protects everyone involved.
8-Point Final Walkthrough Comparison
| Item | Complexity 🔄 (implementation) | Resources ⚡ (requirements) | Expected outcome ⭐ (quality) | Ideal use cases 💡 | Key advantages 📊 |
|---|---|---|---|---|---|
| Structural Integrity and Foundation Assessment | High, structural review, possible engineer involvement | High, structural engineer, testing, permits, access to framing | ⭐⭐⭐⭐⭐ Long-term safety & code compliance | Additions, second‑story work, major reconfigurations | Prevents catastrophic failure; liability protection |
| Electrical Systems and Safety Compliance | Moderate–High, licensed electrician & NEC adherence | Moderate, electrician, panel upgrades, testing equipment, permits | ⭐⭐⭐⭐⭐ Safe, code‑compliant electrical system | Kitchens, bathrooms, panel upgrades, home additions | Prevents fire/shock; preserves insurance & warranties |
| Plumbing Installation and Water Supply Verification | Moderate, slope, pressure testing, leak detection | Moderate, master plumber, pressure tools, access to lines, permits | ⭐⭐⭐⭐⭐ Leak‑free drains & reliable water supply | Kitchen/bath remodels, outdoor plumbing, relocated fixtures | Prevents water damage/mold; ensures proper drainage |
| HVAC, Ventilation, and Air Quality Systems | Moderate, sizing, ductwork sealing, balancing | Moderate–High, HVAC tech, testing equipment, filters, possible equipment upgrade | ⭐⭐⭐⭐ Improved IAQ, moisture control & efficiency | Range hoods, bathroom exhaust, home additions, whole‑house upgrades | Reduces mold risk; improves comfort and energy use |
| Roofing, Exterior Sealing, and Weatherproofing | Moderate, roof integration, flashing detail, safety measures | Moderate, roofing crew, materials, gutters, inspection tools | ⭐⭐⭐⭐⭐ Weatherproof envelope; prevents intrusion | Roof replacements, additions, window/door replacements | Protects interior from water damage; preserves warranties |
| Interior Finish Quality, Paint, and Surface Inspection | Low–Moderate, finish work scrutiny, lighting checks | Moderate, painters, carpenters, flooring installers, touch‑up materials | ⭐⭐⭐⭐ High‑quality visible finishes & homeowner satisfaction | Kitchens, baths, whole‑house finishes, trim work | Ensures professional appearance; documents workmanship |
| Fixture Installation, Operation, and Functionality Testing | Low, installation plus functional testing | Low–Moderate, installers, appliance testing, hardware | ⭐⭐⭐⭐ Immediate usability; fewer post‑move fixes | Kitchens, bathrooms, appliances, doors & hardware | Verifies operation; enables prompt warranty claims |
| Permits, Inspections, and Regulatory Compliance Documentation | Moderate, scheduling and paperwork, jurisdictional rules | Low–Moderate, permit fees, administrative time, inspections | ⭐⭐⭐⭐⭐ Legal compliance; resale & insurance protection | Additions, structural changes, system upgrades, all permitted work | Avoids fines/retrofits; provides legal and resale documentation |
Completing Your Project with Confidence and Partnership
A thorough final walkthrough is the mark of a successful remodeling project and a strong client-contractor relationship. It turns the punch list into a final quality review, not a fight over leftovers. When the contractor and client both treat it as a collaborative step, the process feels less like a handoff and more like a shared confirmation that the work was done right.
That mindset matters because the walkthrough is the last real chance to verify what was promised. It's where agreed repairs get confirmed, included items stay included, and new issues get documented before anyone signs off. In home sales, that last check is especially meaningful because even a small share of walkthroughs still uncover problems serious enough to delay closing, which is why the process exists in the first place FastExpert's final walkthrough guide. In remodels and additions, the same standard applies, the job should be complete, safe, documented, and ready for everyday use.
Home Pro's Remodeling & Repairs treats this stage as part of the build, not a separate chore. That's why a process-driven contractor should welcome direct questions, detailed testing, and clear documentation before final payment or move-in. When the walkthrough is done well, the client gets confidence, the contractor gets a clean closeout, and the finished project stands on the quality of the work itself.
If you're planning a remodel, addition, roofing project, or commercial build-out in East Texas, make the final walkthrough part of the plan from day one. Ask for a contractor who welcomes checklists, communicates clearly, and closes projects the right way.
Home Pro's Remodeling & Repairs helps East Texas homeowners, property managers, and commercial clients finish projects the right way, with clear communication, quality workmanship, and a structured closeout process. If you want a contractor who treats the final walkthrough as a collaborative sign-off, visit Home Pro's Remodeling & Repairs and start your next project with a team that values quality from start to finish.