
Most successful outdoor kitchen projects require professional design-build coordination from day one, especially when integrating plumbing, electrical, or heating systems. The average project spend is around $13,000, while 22% of homeowners build kitchens above $30,000, so early scope control matters from the first sketch.
You're probably starting with a grill catalog open on your phone, a patio that feels underused, and a growing list of ideas. In East Texas, though, the grill is only one piece of the decision. Heat, humidity, heavy rain, freezing weather, and severe storms all affect where the kitchen goes, what supports it, how utilities reach it, and whether you'll still enjoy using it years from now.
A durable outdoor kitchen should work like an outdoor room, not a row of appliances exposed to the weather. The strongest plans begin with site conditions, workflow, utilities, safety, and budget, then select equipment and finishes that support those decisions.
Table of Contents
- Setting the Stage for Your Outdoor Adventure
- Budgeting and Laying Out Your Space
- Choosing Between Propane and Natural Gas
- Selecting Materials for East Texas Climate
- Integrating Utilities and Safety Standards
- Designing for Workflow and Entertainment
- Next Steps for Your Outdoor Kitchen Build
Setting the Stage for Your Outdoor Adventure
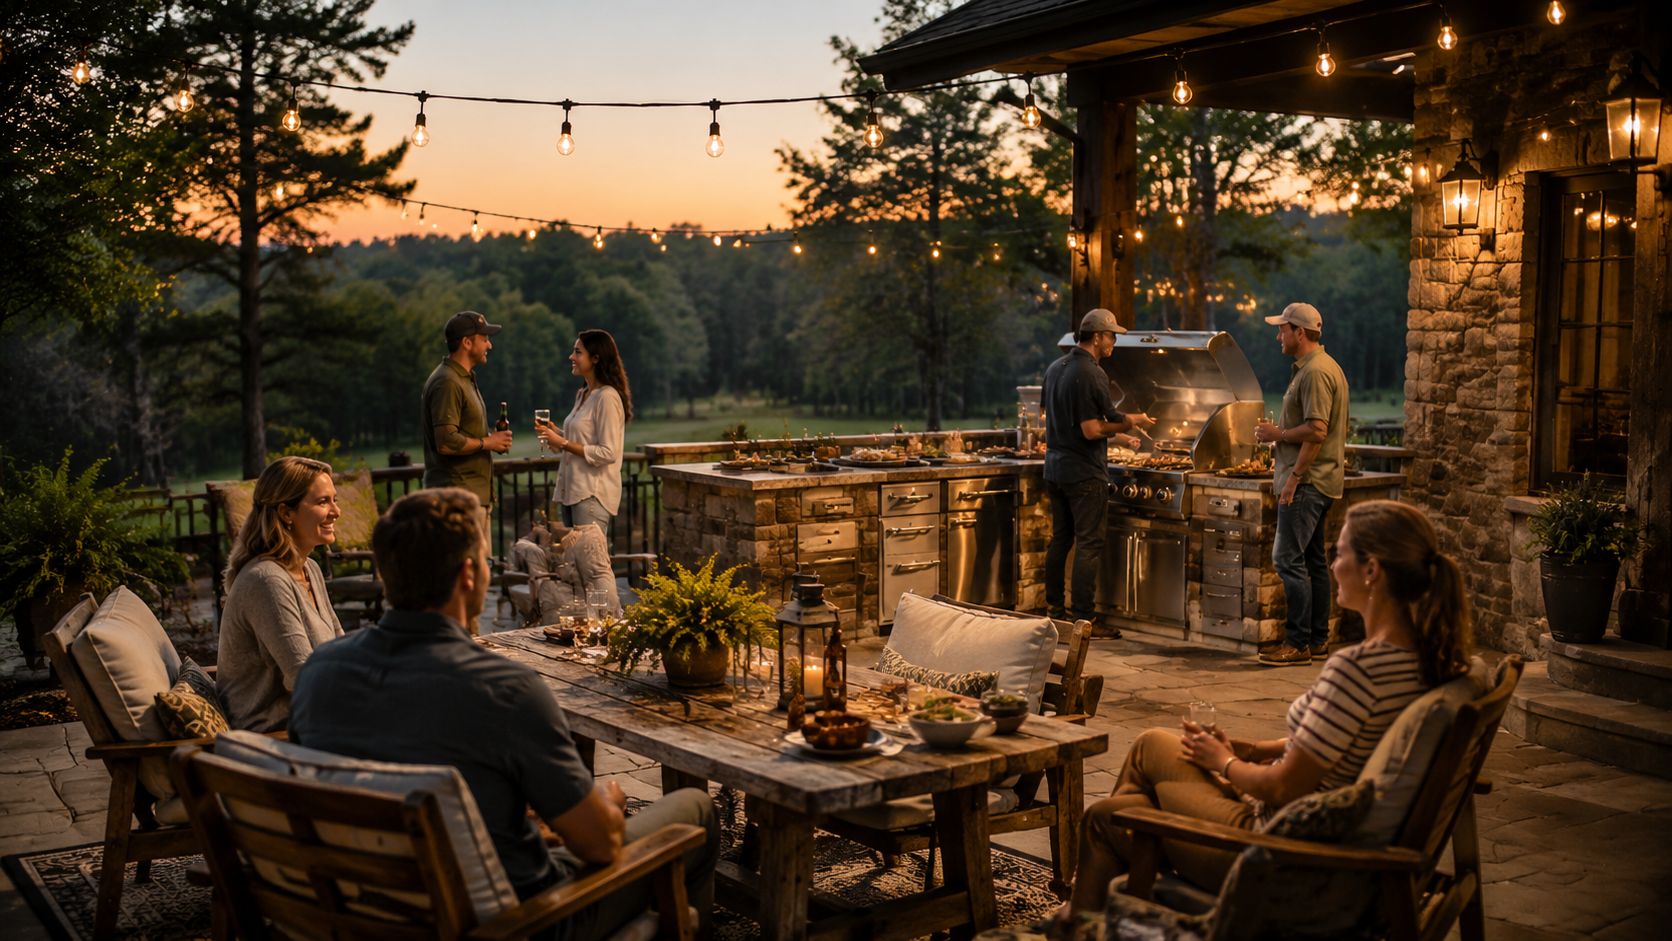
An East Texas evening can make an outdoor kitchen feel inevitable. The humidity finally eases, cicadas fill the trees, and a simple dinner turns into several hours of grilling, talking, and moving between the patio and the house. That experience is valuable, but recreating it reliably takes more than setting a barbecue beside the back door.
The homeowners who get the most from these projects usually start by describing how they live. Do they cook for family on ordinary weeknights, host larger gatherings, or want a shaded place for drinks even when the grill stays cold? Those answers determine whether the project needs a compact cooking wall, a sheltered prep area, or a complete outdoor living space with seating and utility connections.
Why the project scope has changed
Recent trend coverage describes a move toward permanent, integrated outdoor kitchens. One Houzz-based report says 95% of surveyed homeowners were building outdoor kitchens from scratch, more than two-thirds were adding plumbing, electrical, or heating, and 52% were installing a fixed overhead structure or enclosure, according to recent outdoor kitchen trend coverage.
That infrastructure changes the construction sequence. A sink affects water supply and drainage. A refrigerator and lighting affect electrical planning. A roof or enclosure affects ventilation, rain protection, framing, and the way heat leaves the cooking zone. If those choices come after the cabinets are designed, revisions become expensive and disruptive.
Practical rule: Design the outdoor room around climate and daily use before choosing the appliance package.
For visual planning, a backyard AI design tool can help you compare broad concepts and communicate preferences. It can't replace field measurements, code review, utility planning, or material specifications, but it can make the early conversation more productive. The same principle applies when considering indoor and outdoor living spaces. The transition between the two should feel intentional, with a convenient route for food, dishes, and guests.
East Texas homeowners also need to decide whether the kitchen is seasonal or intended for year-round use. Shade, drainage, freeze protection, storm exposure, and cabinet ventilation matter more than a temporary trend. A permanent build deserves permanent-project thinking.
Budgeting and Laying Out Your Space
Start with the budget before you start shopping. NKBA consumer profile data reports an average outdoor kitchen spend around $13,000, with 22% of homeowners building high-end kitchens above $30,000 and 14% spending between $20,000 and $30,000 (NKBA outdoor kitchen data). Those figures aren't a quote for your property. They show why a target budget must come before the design becomes crowded with upgrades.
Establish the project boundary
Write down what the budget must include. Some homeowners are pricing only the grill island, while others are also planning a slab, drainage, electrical work, gas service, a roof, lighting, seating, and landscaping. These are different projects even if they occupy the same backyard.
Use three categories:
- Required work: The cooking appliance, structural base, countertop, weather-resistant storage, and any code-required utility work.
- High-value additions: Shade, task lighting, a sink, refrigeration, or better prep space if they support frequent use.
- Deferred features: Pizza ovens, televisions, warming drawers, decorative masonry, and specialty appliances that can wait until the core space proves itself.
This approach prevents a common mistake. Homeowners often spend heavily on visible equipment, then discover there isn't enough money left for drainage, overhead protection, or a properly sized utility route.
Measure the way people move
Most projects fall within the 100 to 400 square-foot range, and many include a sitting area. The same NKBA profile reports that 52% include some fixed overhead structure (consumer profile details). Keep the kitchen close enough to the house for practical service, but don't place the grill where smoke, grease, or heat will move toward doors and windows.
Mark the back door, existing patio, property edges, utility entry points, and the path guests naturally take to the yard. Then reserve a clear route between the cooking zone, the house, the seating area, and any pool or entertainment space.
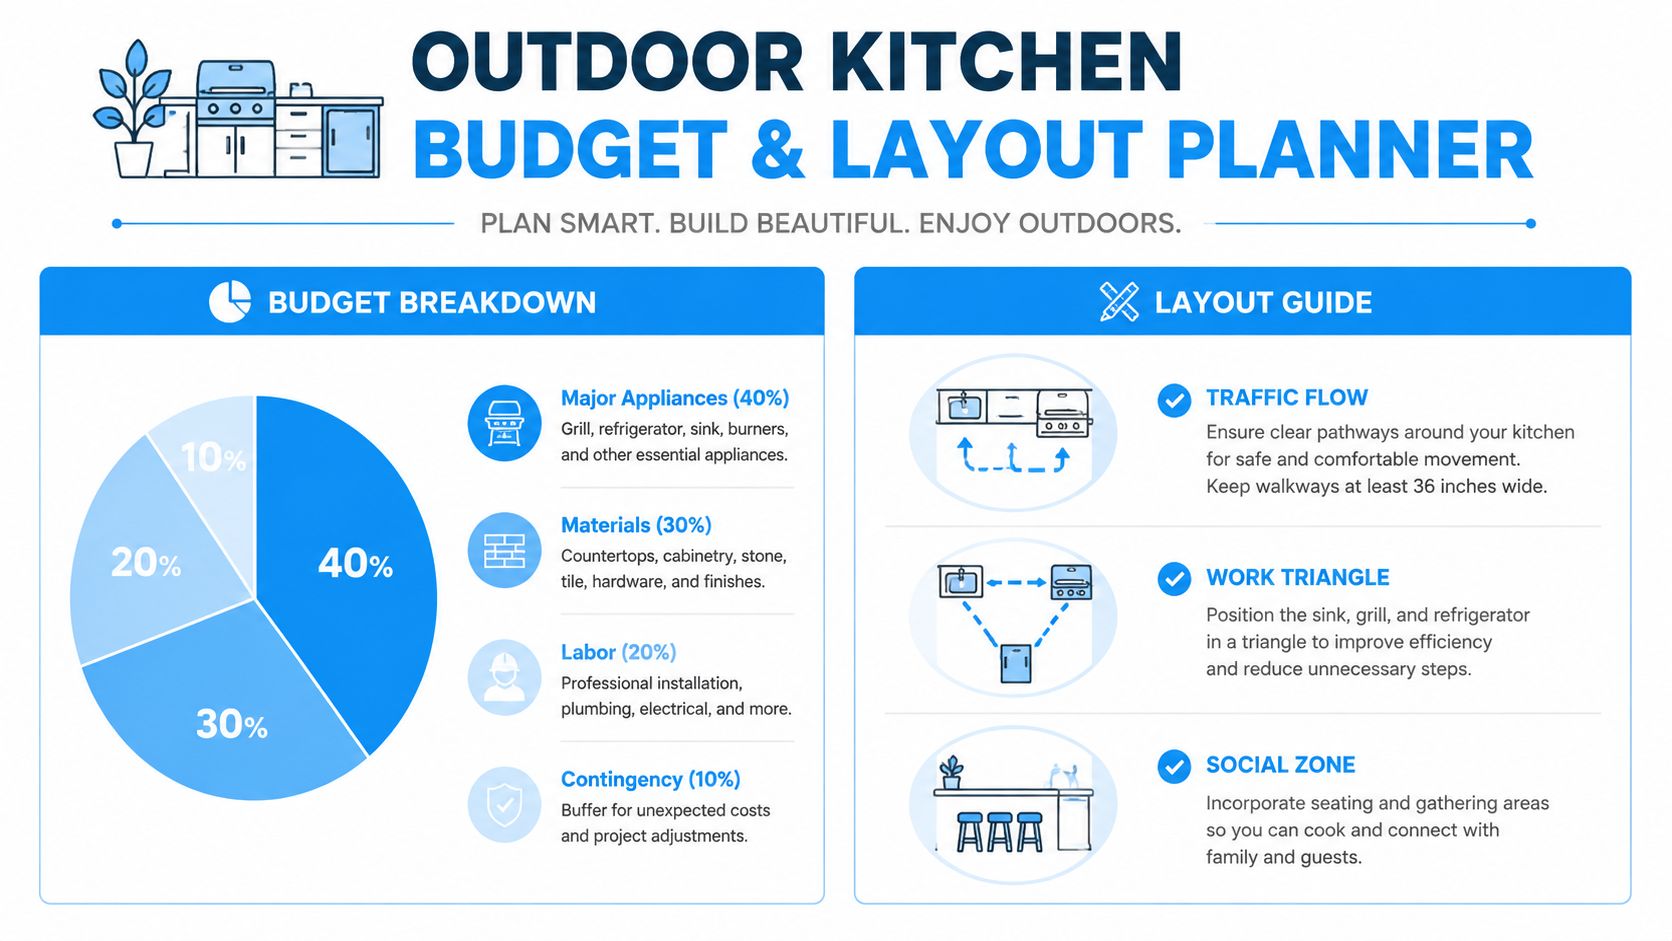
A helpful next step is to compare a simple island, an L-shaped layout, and a wall-connected arrangement at the same site. Resources about how much an outdoor kitchen costs can help frame the discussion, while a contractor experienced with backyard oasis kitchen installation can help you evaluate the patio, structure, and kitchen as one coordinated build.
Choosing Between Propane and Natural Gas
Fuel selection should happen before cabinet dimensions are finalized. In the NFPA-cited planning data, fuel choices are nearly split between propane at 44% and natural gas at 45% (NFPA grill safety guidance). Neither choice is automatically better. The right option depends on your property, cooking habits, and willingness to commit to permanent infrastructure.
| Consideration | Propane | Natural gas |
|---|---|---|
| Installation | Works well where a permanent gas route isn't practical | Requires a correctly designed connection to the home's gas system |
| Flexibility | Supports a more movable or phased setup | Suits a fixed kitchen intended to stay in one location |
| Fuel management | Requires tank storage, replacement, or refilling | Provides a continuous supply when the connection is available |
| Planning impact | Tank location and ventilation still need attention | Pipe sizing, approved connections, ventilation, and permits need early review |
Propane can make sense for a detached patio, a phased project, or a homeowner who doesn't want to extend a gas line. The trade-off is operational. Tanks need a safe, accessible storage location, and the layout must leave room to change or service them without dismantling the island.
Natural gas is convenient for a permanent cooking station because you won't manage replacement tanks during a gathering. The installation is less forgiving, though. A long or undersized line can create performance problems, and the route needs to be coordinated before hardscape and cabinetry hide the connection.
For a broader comparison of operating considerations, use this propane versus gas grill guide as a starting point, then have the actual installation reviewed by qualified professionals. The fuel decision also affects future appliances. Adding a second burner or high-demand cooking appliance later may require capacity that wasn't included in the original plan.
Selecting Materials for East Texas Climate
East Texas puts outdoor materials through a demanding cycle. Strong sun heats countertops and metal surfaces, humidity encourages corrosion and biological growth, rain reaches exposed joints, and storms can drive water into places that look protected from the ground. Occasional freezing weather adds another stress, particularly where trapped water can expand inside porous materials or plumbing.
Material selection should therefore follow exposure, maintenance tolerance, and repairability. A finish that looks excellent under a showroom roof may be a poor choice beside an uncovered grill.
Build the shell for moisture and movement
High-quality stainless steel works well for appliance doors, drawers, and exposed hardware, but grade and installation matter. Look for outdoor-rated components and protect them from standing water. Good drainage, ventilated enclosures, and sloped surfaces do as much practical work as the metal itself.
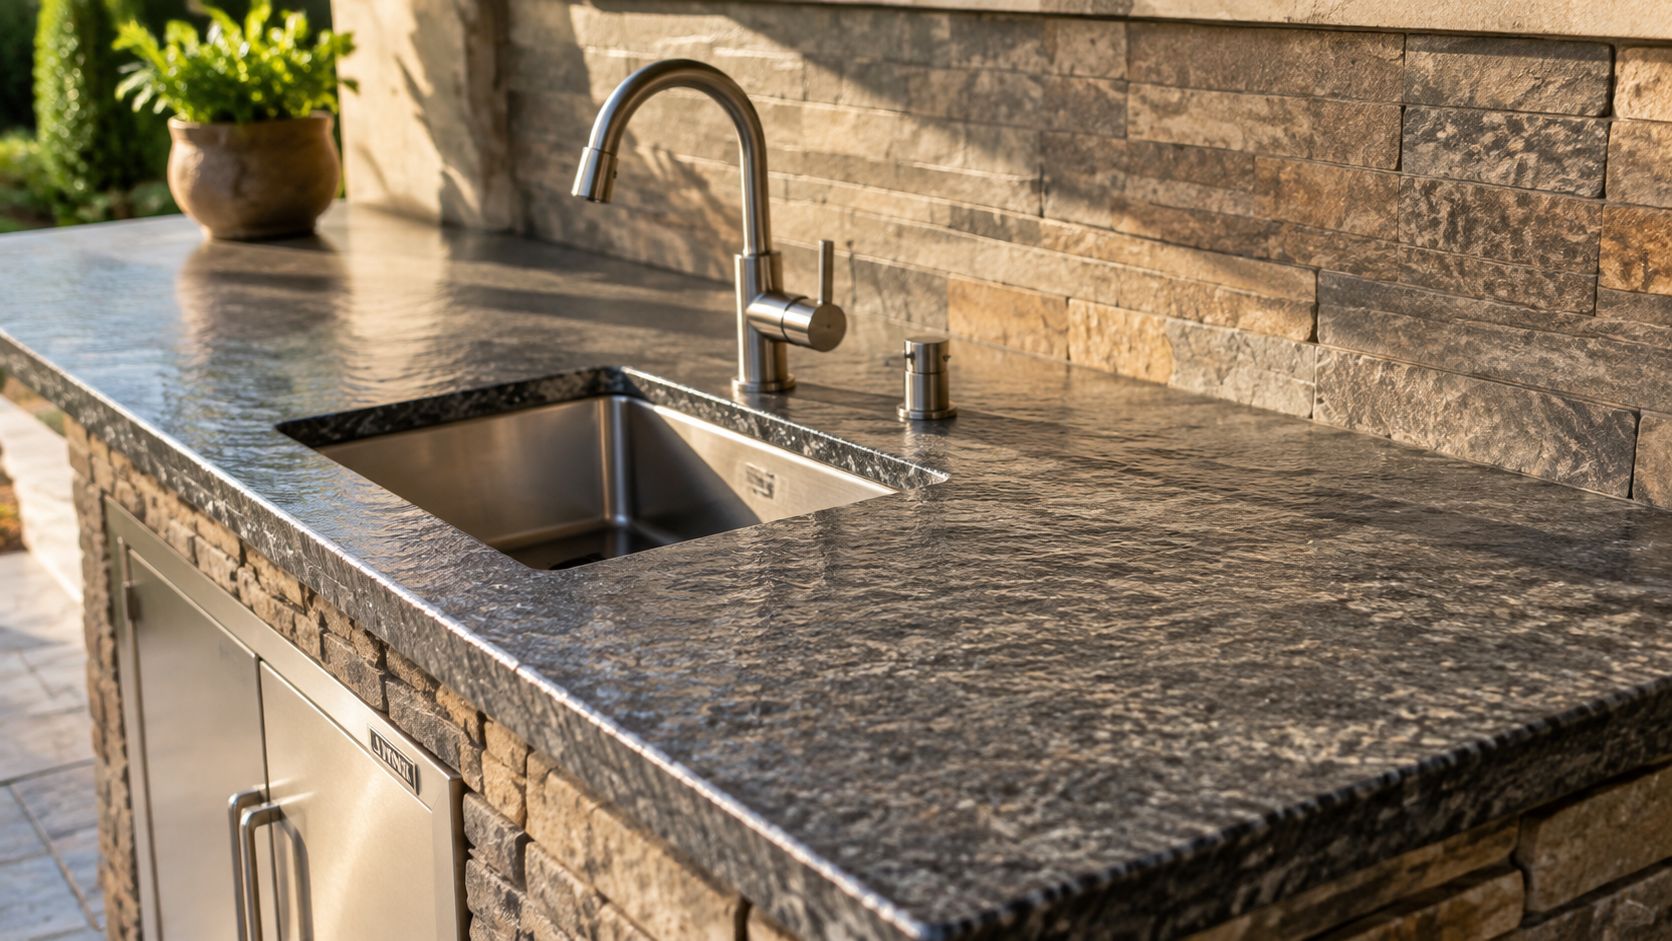
Stone provides weight and visual continuity with patios and retaining walls. Dense surfaces are generally easier to maintain than highly porous options, but every stone still needs a realistic sealing and cleaning plan. Tile can add color and texture, although grout lines create more places for moisture, grease, and dirt to collect. Composite materials can reduce some maintenance, but they still need to be rated for outdoor heat and direct sun.
Countertop edges deserve special attention. Unsupported overhangs can crack during storms or impact, and flat surfaces can hold rain against cabinet faces. I prefer details that move water away from doors, drawers, and seams rather than relying on sealant to solve every exposure problem.
Treat shade as protection
Fixed overhead protection is more than a comfort feature. It limits direct solar load, reduces rain exposure, and can make the kitchen usable during more of the year. NKBA data reports that 52% of outdoor kitchen projects include some fixed overhead structure (outdoor kitchen planning data).
A roof, pergola, or retractable awning still needs careful coordination. A covered grill area requires adequate ventilation and safe clearances. A pergola can provide shade without fully stopping wind-driven rain. A retractable system offers flexibility, but it needs secure operation and a place to remain protected during severe weather.
Choose fasteners, hinges, pulls, and supports for exterior exposure. Plan how you'll clean pollen and grease, where water will drain, and how covers will be stored. In storm-prone areas, avoid making fragile decorative elements the only thing holding up a large overhang. Climate-resilient outdoor kitchen planning and design favors fewer vulnerable details and stronger connections.
Integrating Utilities and Safety Standards
Utilities should be drawn into the plan before the slab, masonry, or cabinet frame is built. A finished kitchen can hide a poor gas route, inaccessible shutoff, undersized circuit, or drain that cannot be serviced. The correct sequence is simple: locate appliances, map the utility routes, verify code requirements, then construct the enclosure.
Coordinate gas, power, and water
For natural gas, confirm the appliance load, pipe sizing, approved connections, shutoff access, and ventilation with the qualified installer. Don't assume the existing household line can support a new outdoor cooking system. The route should avoid unnecessary bends and remain serviceable after the finish materials are installed.
Electrical planning should account for refrigeration, lighting, ignition systems, receptacles, and any future appliance you expect to add. Outdoor receptacles and equipment need appropriate protection and weather-rated components. A licensed electrician can identify the required circuits and coordinate trenching or wall access before the hardscape closes the route.
Water planning includes more than running a supply line to a sink. Decide where wastewater goes, how the line will be protected from freezing, and whether the system can be drained when the kitchen isn't in use. In East Texas, a frost-free connection and accessible shutoffs make seasonal maintenance easier.

Resolve fire clearances before construction
NFPA guidance says outdoor cooking appliances shouldn't be used on balconies, under overhangs, or within 10 feet of a structure in the applicable guidance. Fire-safety guidance also cites minimum clearances of 36 inches at the sides and back and 48 inches at the front for combustible materials (NFPA location and clearance guidance).
These requirements can affect the entire layout. A grill placed beside a wood fence may need relocation, noncombustible protection, or a different structure. A covered cooking area may require a ventilation solution that changes the roof design. Check local permitting requirements before work begins, and review whether an outdoor kitchen remodel needs a permit.
Keep a fire extinguisher accessible, maintain a clear working area, and make sure fuel shutoffs can be reached quickly. Safety features shouldn't be buried behind storage or placed where guests will block them.
Designing for Workflow and Entertainment
The best outdoor kitchen isn't the one with the longest appliance list. It's the one that lets the cook prepare, cook, serve, and clean without crossing through guest traffic or carrying hot food over a seating area.
Start by identifying four functional zones:
- Hot zone: Place the grill, burners, smoker, or pizza oven where heat and smoke can be managed safely.
- Prep zone: Give knives, trays, seasonings, and raw ingredients a dedicated surface beside the cooking equipment.
- Service zone: Position a counter, island, or pass-through where plated food can leave the cooking area without blocking it.
- Social zone: Keep stools and lounge seating close enough for conversation, but outside the path of hot pans, fuel access, and appliance doors.
A beverage refrigerator may help if guests frequently serve themselves, while a sink can reduce trips inside for washing and filling. Neither belongs in the plan because it appears in a showroom. The appliance should earn its space by supporting the way your household uses the yard.
Make the kitchen triangle work outside
Indoor kitchens often rely on a work triangle, but outdoor kitchens need a wider interpretation. The useful relationship is between cold storage, preparation, and heat, with cleaning and serving positioned where they don't interrupt the primary route.
Avoid placing the grill at the end of a narrow passage. Someone opening a refrigerator shouldn't collide with the person carrying a platter. Likewise, don't put seating directly behind the cook if guests will repeatedly cross the active work area to reach drinks.
Lighting should follow tasks rather than decoration. Use focused illumination over prep and cooking surfaces, softer light around seating, and enough low-level guidance for the path back to the house. East Texas evenings often stretch well beyond daylight, so lighting and shade can make the difference between a kitchen that gets occasional use and one that becomes part of the household routine.
Next Steps for Your Outdoor Kitchen Build
Begin with a site visit, not an appliance order. A professional should examine the patio or proposed foundation, house connection points, drainage, existing utilities, shade patterns, storm exposure, and the route guests already use through the yard. Take photographs and measurements, but don't treat an online layout tool as a construction drawing.
Ask for a coordinated proposal
A useful proposal should identify the construction scope and the assumptions behind it. Ask the contractor to explain:
- Site work: Whether the price includes a slab, patio modifications, grading, drainage, demolition, or surface repair.
- Utilities: Who designs and installs gas, electrical, water, drainage, lighting, and shutoffs.
- Materials: Which cabinet, countertop, fastener, sealant, and roofing products are rated for exterior use.
- Safety and approvals: What clearances, inspections, and permits apply to the property.
- Schedule and changes: When design decisions become fixed, how substitutions are handled, and who coordinates each trade.
A contractor who can't explain those items clearly is asking you to carry too much risk. The outdoor kitchen should have a documented target budget, a defined appliance list, and a layout that shows circulation before construction starts.
Choose the team carefully
Look for licensing and insurance appropriate to the work, references for completed outdoor projects, and evidence that the contractor understands East Texas weather rather than treating the project like an indoor cabinet installation. Ask how the team handles freezing conditions, heavy rain, storm-related repairs, gas inspections, and service access behind finished panels.
A design-build team can reduce the gaps that appear when one company designs the kitchen, another routes utilities, and a third builds the structure. That model doesn't eliminate every challenge, but it gives the homeowner one coordinated process for budget decisions, approvals, scheduling, and construction accountability.
Home Pro's Remodeling & Repairs is a licensed and insured Tyler contractor that offers design-build remodeling, patios, decks, and outdoor kitchens, with onsite consultations and project coordination for homeowners across East Texas. Whether you choose that company or another qualified builder, start by requesting a site evaluation and a written scope that addresses climate resilience, workflow, utilities, and safety together.
Home Pro's Remodeling & Repairs can help East Texas homeowners plan and build outdoor kitchens, patios, decks, and connected living spaces through a coordinated remodeling process. Visit Home Pro's Remodeling & Repairs to request an onsite consultation, discuss your target budget, and begin a design that fits your property and the way you entertain.