
A workmanship warranty covers the quality of the contractor's labor and installation, not the materials themselves, which are covered by separate manufacturer warranties. In U.S. federal construction contracting, the standard workmanship warranty lasts 1 year from final acceptance, and repaired or replaced work receives a fresh 1-year warranty from the correction date.
You've just finished a kitchen or bathroom remodel, the surfaces are clean, the cabinets look sharp, and the contractor has packed up. Then a problem appears. A shower tile starts loosening, a cabinet door won't stay closed, or water shows up where it shouldn't. You pull out the contract and discover that you're unsure whether the issue comes from poor installation, a defective product, maintenance, or something outside the warranty entirely.
That uncertainty creates many of the disputes homeowners want to avoid. The warranty period matters, but the paper trail often matters more. Clear contract language, dated photographs, written notices, inspection records, and documented repairs give you a way to establish what happened and who was responsible.
Table of Contents
- Introduction What Happens When Problems Surface
- Understanding Workmanship Warranty Basics
- Comparing Workmanship and Manufacturer Warranties
- Typical Warranty Terms and What Is Excluded
- How Claims Are Handled and Resolved
- A Real Tyler Bathroom Remodel Warranty Case
- Evaluating and Using Your Workmanship Warranty
Introduction What Happens When Problems Surface
A Tyler homeowner recently completed a bathroom renovation that included a tiled shower, a new vanity, updated fixtures, and fresh paint. The room looked finished when the crew left. Several weeks later, the homeowner noticed a tile edge beginning to lift near the shower niche.
At first, the defect seemed minor. A loose tile can look like a cosmetic annoyance, especially when the rest of the bathroom appears complete. But the homeowner had an important question to answer before anyone touched it: was the tile itself defective, or had it been installed incorrectly?
That distinction determines which warranty applies. A contractor's workmanship warranty generally addresses the quality of labor and installation. A manufacturer or supplier warranty generally addresses a failure in the product or material. If the homeowner starts a repair without identifying the source, the evidence may disappear and responsibility can become harder to establish.
The same problem occurs with cabinet doors, roof flashing, window seals, flooring transitions, drywall joints, and plumbing connections. A visible symptom doesn't always identify the original cause. Water staining might result from a failed product, improper sealing, poor flashing, or a later alteration by another trade.
Practical rule: Treat every warranty issue as an evidence problem before treating it as a repair problem.
A useful file should contain the signed contract, warranty terms, change orders, product information, completion records, photographs, emails, inspection notes, and invoices. That discipline helps homeowners communicate clearly and gives contractors a fair opportunity to evaluate and correct legitimate defects.
Understanding Workmanship Warranty Basics
A workmanship warranty is the contractor's promise that the labor and installation were performed to the agreed professional standard. It follows the contractor's work, not the factory that produced the tile, window, cabinet, roofing material, fixture, or appliance.
Think of a remodeling project as two connected but separate promises. The manufacturer promises that its product should perform as specified. The contractor promises that the product was selected, handled, prepared, and installed correctly under the project agreement.
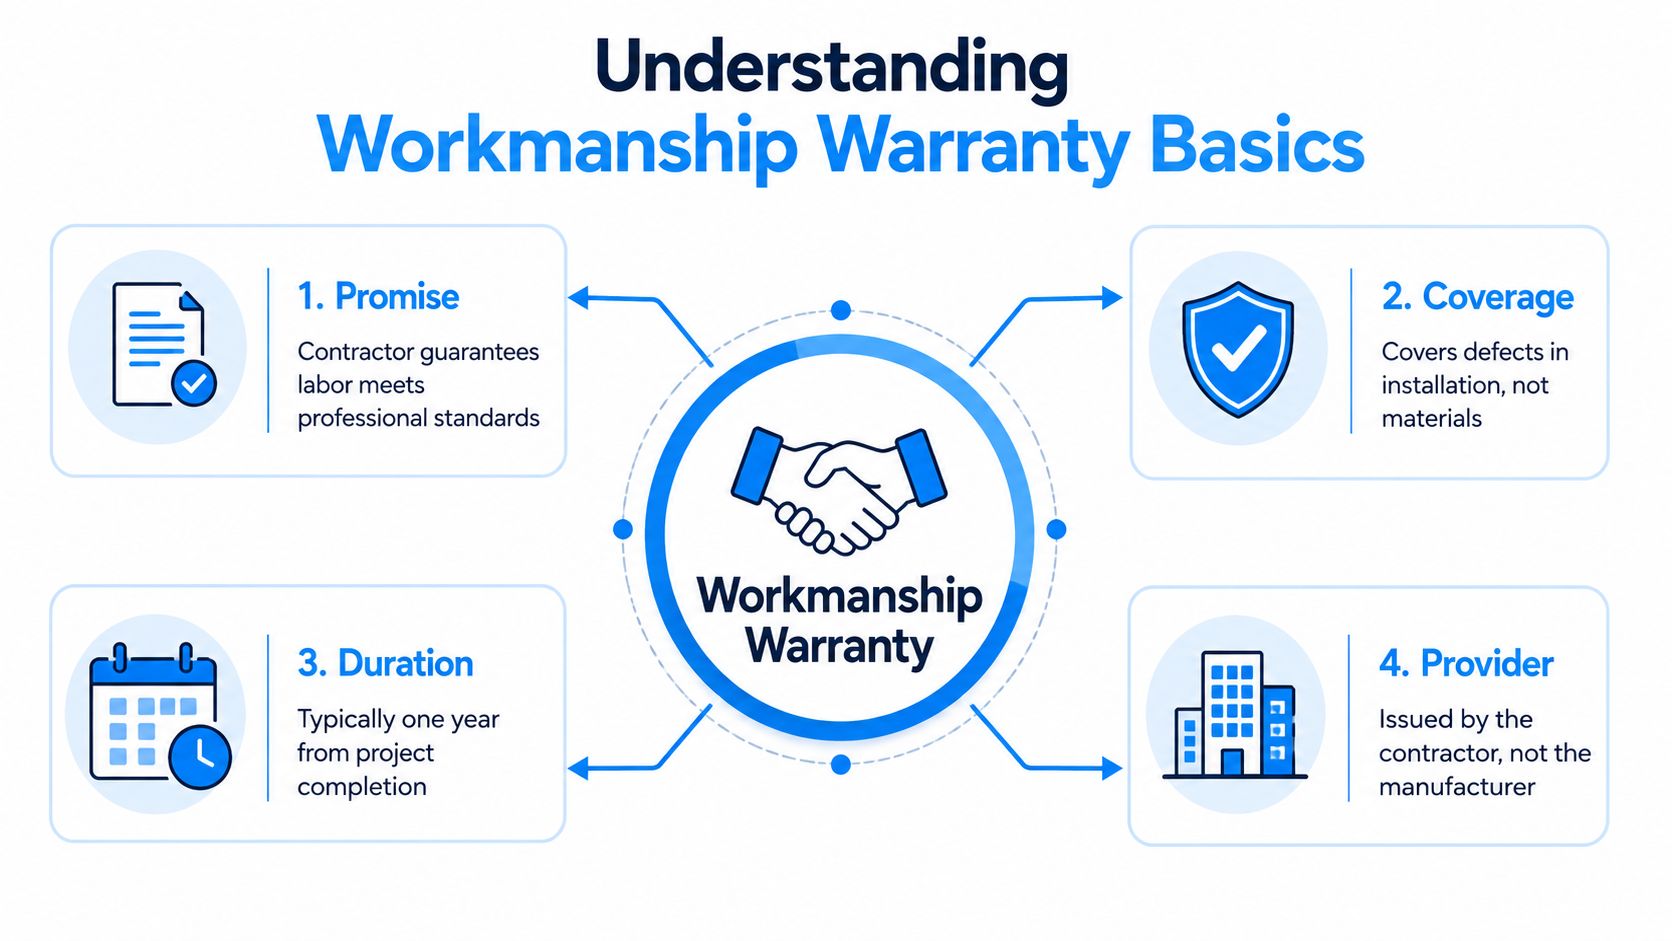
What the contractor is promising
Workmanship coverage can apply when a defect results from installation technique or execution, such as:
- Tile installation: Loose edges, inconsistent setting, failed waterproofing details, or poor treatment around niches and transitions.
- Cabinet installation: Misaligned doors, insecure mounting, or incorrect adjustment caused by the installation.
- Roofing work: Defective flashing, fastening, underlayment placement, or sealing performed by the crew.
- Finish work: Uneven trim, failed caulking, poor drywall finishing, or flooring transitions that don't meet the agreed standard.
The warranty doesn't guarantee that every component will last indefinitely. It addresses whether the contractor performed the contracted work properly.
In U.S. federal construction contracting, the standard construction warranty requirements provide a useful benchmark. The standard period is 1 year from final acceptance, and repaired or replaced work receives a fresh 1-year warranty from the date of correction. That reset makes repair documentation especially important. A written record should identify the affected scope, the correction date, the work performed, and the warranty attached to that corrected work.
Why written terms matter
A verbal assurance such as “we'll take care of anything that comes up” doesn't tell you what is covered, how long coverage lasts, how a claim must be submitted, or whether exclusions apply. The written warranty should answer those questions before the project begins.
Homeowners can also review a contractor's documented quality assurance process to understand how inspections, punch-list work, and closeout records fit into the project. A warranty becomes more useful when the contractor's process produces reliable records from installation through final acceptance.
Comparing Workmanship and Manufacturer Warranties
The easiest way to separate the two warranties is to ask what failed first. Did the product fail despite proper installation, or did the installation cause the product or assembly to perform poorly?
| Question | Workmanship warranty | Manufacturer warranty |
|---|---|---|
| Who issues it | The contractor or builder | The product manufacturer or supplier |
| What it addresses | Labor quality and installation | Product defects or material performance |
| Typical evidence | Installation photos, inspection notes, contract scope | Model information, serial details, purchase records, product documentation |
| Common examples | Poor sealing, incorrect fastening, misalignment, defective flashing | Failed window seal, faulty appliance component, defective tile or roofing material |
| Usual claim path | Written notice to the contractor | Claim to the manufacturer, supplier, or authorized service channel |
A cracked countertop illustrates the problem. If the stone contains a manufacturing flaw, the material warranty may apply. If the contractor used an inaccurate template, created excessive stress at an edge, or installed the slab without proper support, the installation may be the issue. The visible crack alone doesn't resolve the dispute.
The same distinction applies to windows. Condensation between panes may indicate a failed factory seal, while water entering around the frame may point to flashing, caulking, or installation details. A roof shingle can be sound while the roof still leaks because the crew installed a valley, penetration, or wall transition incorrectly.
The warranties may also involve different paperwork and response procedures. Keep the contractor's warranty documents in one file and product registrations, manuals, receipts, and manufacturer terms in another. Record which trade supplied each item and who installed it.
A contractor may help coordinate a product claim, but that assistance doesn't automatically transfer product responsibility to the contractor. Your goal is to preserve evidence before anyone removes, replaces, or discards the failed component.
Typical Warranty Terms and What Is Excluded
A widely used residential warranty structure in North American homebuilding separates coverage by defect type. It commonly provides 1 year for labor and workmanship, 2 years for major mechanical systems, and 10 years for major structural components, as described in this overview of construction defect warranties.
The structure reflects how different problems emerge. Finish defects, trim problems, tile issues, caulking failures, and door alignment concerns are often visible through ordinary use and inspection. Plumbing, electrical, heating, cooling, and ventilation systems may require extended operation, pressure changes, or cycling before a problem becomes apparent. Structural concerns can involve longer-term movement, moisture exposure, or settlement.
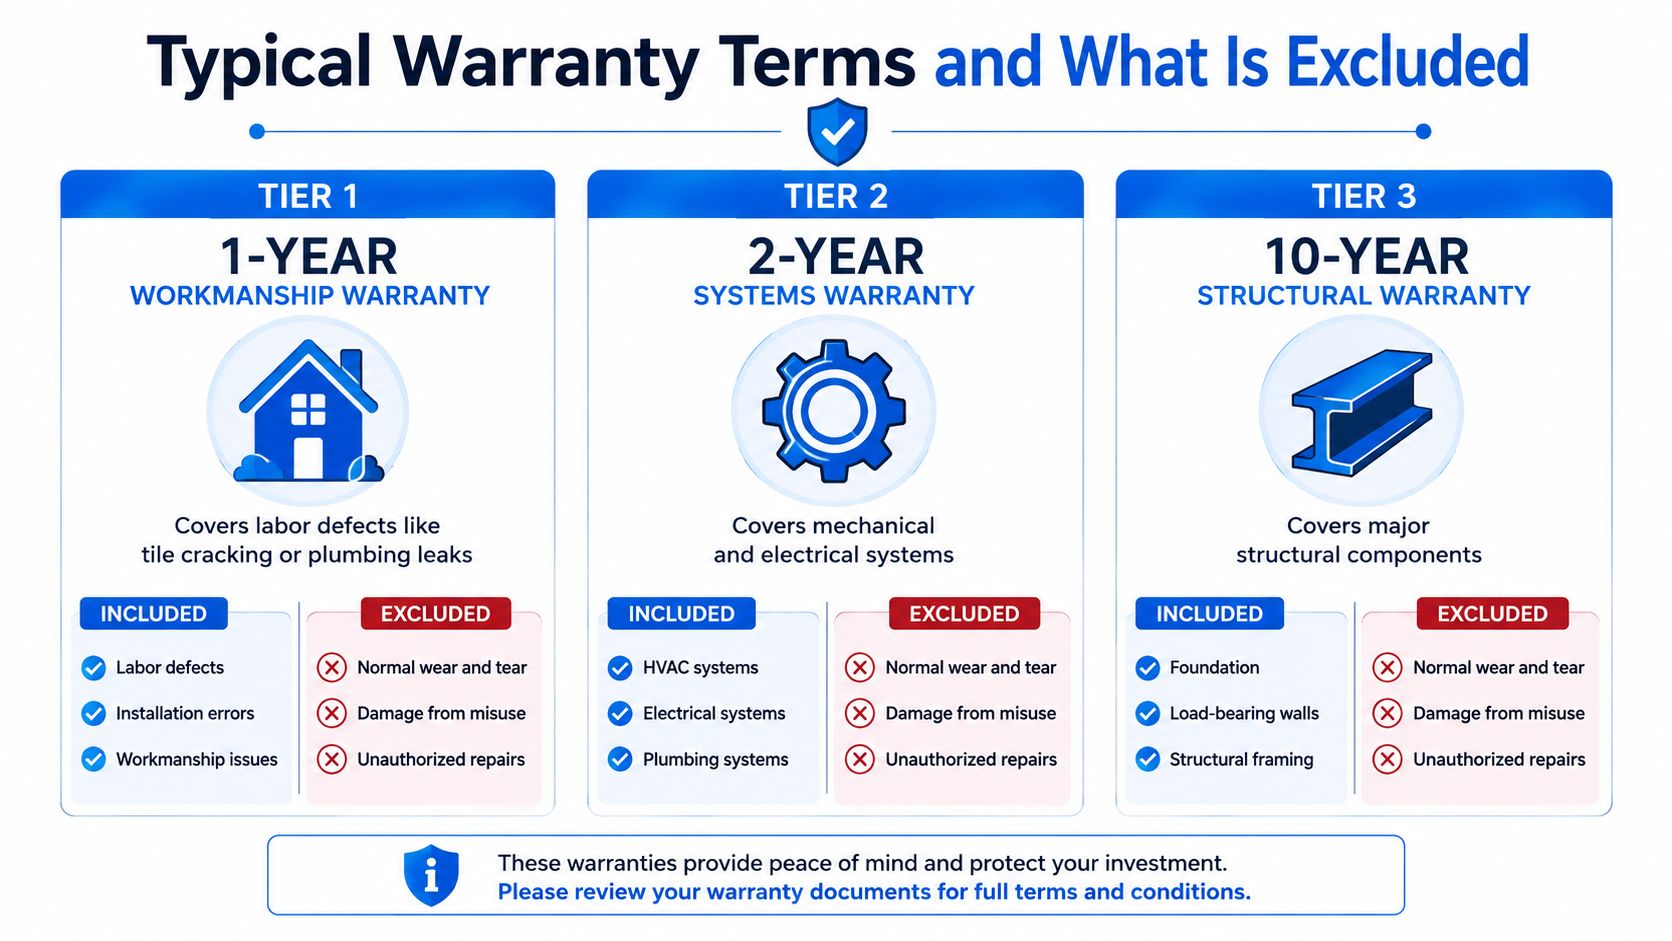
The headline term isn't the whole protection
A longer period can help, but it doesn't replace clear procedures. A homeowner with a longer warranty but no completion date, no photos, and no written notice may have a weaker practical position than a homeowner who documented a defect promptly under a shorter term.
Typical exclusions may include:
- Normal wear and tear: Aging, ordinary surface wear, and routine deterioration aren't usually installation defects.
- Misuse or neglect: Damage caused by improper use, ignored maintenance, or unauthorized alterations may fall outside coverage.
- Outside damage: Storms, impacts, flooding, fire, and other environmental events may be handled through insurance or a separate responsibility path.
- Third-party work: A later contractor can damage or alter the original installation, complicating responsibility.
- Unapproved repairs: Allowing another party to modify the disputed area before inspection can make the original condition difficult to prove.
East Texas conditions can expose problems through humidity, seasonal movement, heavy rain, and severe weather. Those conditions don't automatically determine coverage. They make it more important to record when the issue appeared, what conditions existed, and whether the failure tracks an installation detail.
The best warranty is not merely the one with the longest term. It's the one you can enforce with a clear scope, a clear claim path, and credible records.
How Claims Are Handled and Resolved
A strong warranty claim starts before the first phone call. If a shower leaks, a window admits water, or a cabinet separates, document the condition while it still shows the original symptom.
Document the condition
Take clear photographs from several distances. Include an overall view that establishes location, then close-ups that show the defect. Add the date, room, affected component, and any relevant circumstances to your notes. If water is involved, record whether the issue appeared after rain, shower use, plumbing operation, or another identifiable event.
Preserve the original condition when practical. Don't remove tile, recaulk a joint, tighten hardware, or hire another contractor before the installing contractor has had a reasonable opportunity to inspect, unless immediate action is needed to prevent additional damage.
Notify the right party in writing
Send an email or formal written notice that identifies the project, completion or acceptance record, location of the defect, date discovered, and requested inspection. Attach photographs, but keep the message factual. Avoid guessing at the cause unless you clearly label the statement as an observation.
A useful notice might identify “moisture visible beneath the shower after use” rather than declaring that the waterproofing failed. The contractor's inspection should determine whether the issue involves labor, a product, design, maintenance, or an outside event.
Inspect, repair, and verify
The contractor should inspect the affected area and compare the condition with the contract scope, installation requirements, and product documentation. If the issue is covered, obtain a written description of the proposed correction and keep records of the work performed.
Construction defect disputes can be expensive and complicated, and 2025 market commentary on construction defect risk describes the risk as expensive and selectively insured while legal analyses continue to examine whether negligent workmanship creates tort exposure or remains a contract issue. Homeowners shouldn't try to resolve every technical or legal question alone, but they should create a clean factual record.
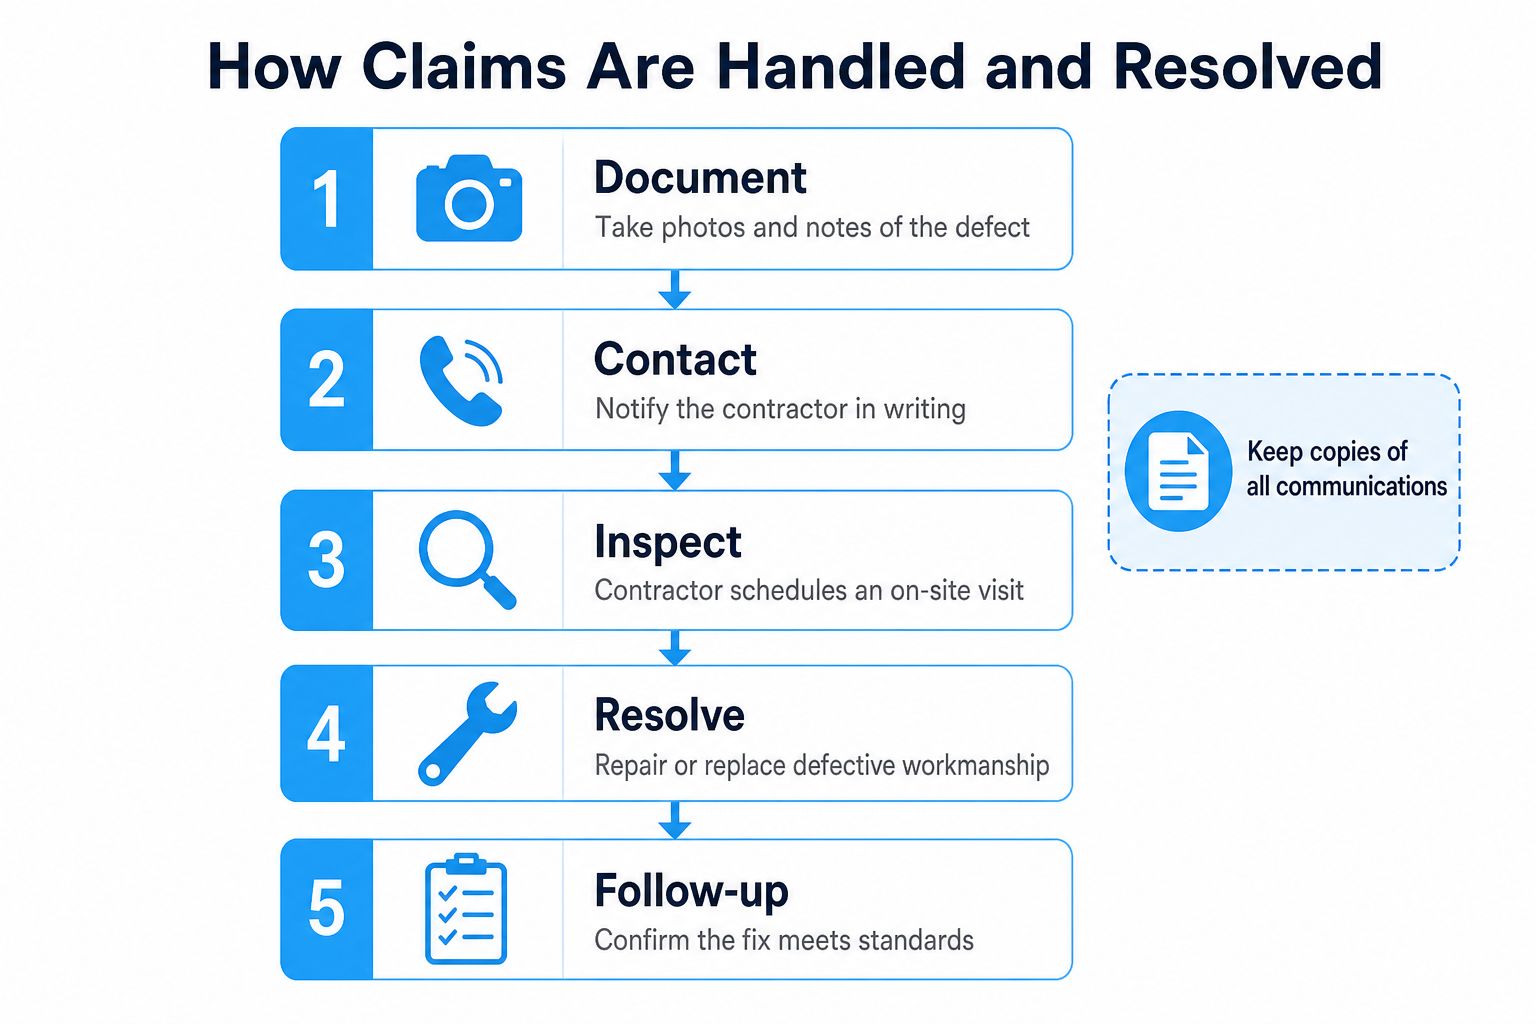
After the repair, photograph the corrected work, save invoices and correspondence, and request written confirmation of the correction date and affected scope. Under the federal benchmark described earlier, corrected work receives a fresh warranty period, so that date shouldn't remain an informal verbal detail.
A Real Tyler Bathroom Remodel Warranty Case
Consider a full bathroom remodel in Tyler with a tiled shower, custom vanity, new plumbing fixtures, and fresh paint. Several months after completion, the homeowner notices water staining on the ceiling below the shower. The bathroom looked complete, but the symptom suggested that moisture was moving somewhere it shouldn't.
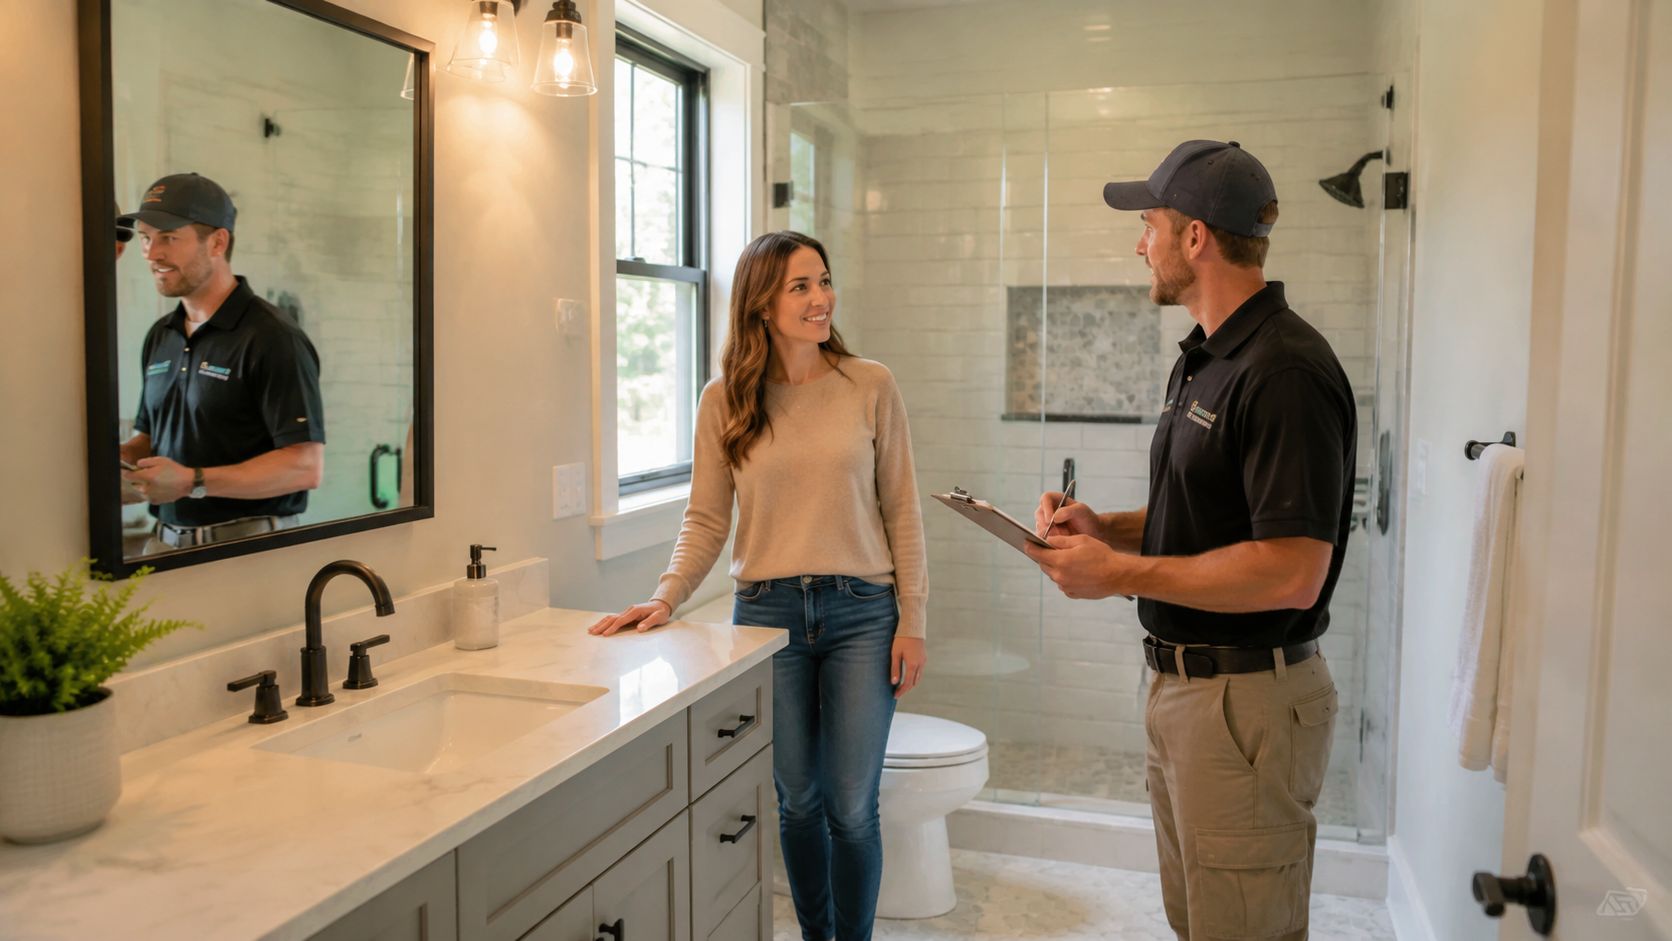
The homeowner contacts the remodeling contractor in writing, attaches closeout photographs, and requests an inspection. The project manager examines the shower niche, grout lines, adjacent joints, and the ceiling below. The inspection finds that the grout area around the niche wasn't properly sealed during installation, allowing moisture to penetrate behind the tile.
That finding makes the responsibility clearer. The tile and grout materials are sound, but the installation detail failed. The issue therefore fits the workmanship side of the warranty rather than a product defect claim.
The homeowner's records help establish the timeline. The original contract identifies the shower scope, the closeout photographs show the finished condition, and the email thread records when the staining appeared and when notice was given. Those records don't prove every technical conclusion by themselves, but they give the contractor a reliable starting point for inspection.
For homeowners planning a similar project, bathroom remodeling in Tyler should include a closeout process that identifies completed work, unresolved punch-list items, selected products, and warranty contacts.
The contractor arranges for a qualified tile professional to correct the affected area. The repair record identifies what was resealed, when the work occurred, and which scope received the new warranty period. The homeowner keeps the inspection notes, photographs, and completion confirmation rather than treating the repair as an informal favor.
The lesson isn't that every claim will be this straightforward. It's that documentation reduces ambiguity. Without the photographs and written communications, the parties would have had to reconstruct the project from memory after moisture had already changed the evidence.
A short video can also help homeowners understand how an inspection conversation may unfold:
Evaluating and Using Your Workmanship Warranty
Warranty protection begins before construction. Ask for the complete written warranty before signing, not after a defect appears. The document should identify the covered labor, start date, exclusions, notice method, inspection process, repair obligations, and records you must provide.
The distinction between labor and product coverage deserves special attention. Construction warranty guidance on the difference between workmanship and product responsibility reinforces why homeowners should identify whether a problem came from installation, design, or the material itself before assigning responsibility.
Before work starts
- Read the scope: Confirm that the warranty covers the actual trades and rooms included in your contract.
- Clarify the clock: Establish the event that starts the warranty, such as final acceptance, and keep the signed acceptance record.
- Identify vendors: Record product names, model information, manuals, receipts, and manufacturer claim instructions.
- Ask about exclusions: Look for language covering maintenance, weather, homeowner changes, and work by others.
- Confirm notice requirements: Know whether claims must be emailed, mailed, submitted through a portal, or reported within a defined procedure.
During construction
Photograph concealed work before it gets covered, including plumbing routes, waterproofing details, flashing, electrical changes, and substrate preparation when access and safety allow. Save approved selections, change orders, inspection records, and every written decision that changes the original scope.
Don't rely on text messages alone if the contract requires formal notice. Keep conversations professional and summarize important calls by email so both sides share the same written record.
At closeout and afterward
Use a structured final walkthrough checklist to record incomplete items, visible defects, operating instructions, product documents, and the final acceptance date. Don't sign a broad acceptance statement that accidentally erases unresolved punch-list work unless the contract clearly explains how those items remain protected.
After completion, follow the contractor's care instructions and the manufacturer's maintenance requirements. If a defect appears, record it promptly, notify the responsible party in writing, and avoid making a repair that prevents inspection.
This approach shifts warranty management from a last-minute argument to a controlled process. The number of months in the warranty matters, but proof of scope, timing, condition, notice, and correction is what gives that promise practical force.
Home Pro's Remodeling & Repairs provides design-build remodeling, roofing, exterior improvements, additions, repairs, and project closeout support for homeowners and property owners across Tyler and East Texas. To establish clear expectations, organized documentation, and a defined path for addressing workmanship or installed-product concerns, visit Home Pro's Remodeling & Repairs to request an onsite consultation.