
A growing family in Tyler may not need a new address. They may need a quieter office, another bedroom, a larger kitchen, or a better connection between the house and the backyard. But once the conversation shifts from “we need more room” to “how do we build a home addition,” the decisions become structural, financial, and regulatory, especially on East Texas lots.
The right sequence starts before excavation. You'll define the purpose and budget, evaluate the site and clay soil, coordinate design and permits, build the foundation and framing, protect the roof tie-in, then complete utilities and finishes in the correct order. A design-build process keeps those decisions connected instead of leaving a homeowner to coordinate separate designers, engineers, and trades.
Table of Contents
- Why East Texas Homeowners Choose an Addition
- Planning Your Addition Budget and Permits
- Site Prep Foundation Framing and Roof Tie In
- Utilities Insulation and Interior Finishes That Last
- Sample Timeline Milestones and Common Pitfalls to Avoid
- When to Hire a Contractor and Next Steps in East Texas
Why East Texas Homeowners Choose an Addition
A homeowner in Tyler, Lindale, or Whitehouse often reaches the same crossroads. The house still sits in the right neighborhood, the commute works, and the children's schools or nearby family connections matter. Yet the dining table has become a homework station, the hallway holds overflow storage, and one bedroom serves more people than it should.
Moving may solve the space problem, but it also means giving up a familiar property. An addition lets you preserve the location while changing how the home functions. The best projects begin with a specific problem, such as adding a bedroom, creating a home office, expanding a living area, accommodating multigenerational living, or making room for aging in place.

Decide what the addition must accomplish
Square footage alone won't make a house more comfortable. A poorly placed room can create a dark corridor, awkward traffic pattern, or expensive roof shape without solving the original complaint. Start by writing down how the family uses the current home and what must improve.
A good initial brief answers questions such as:
- Primary purpose: Is the space for sleeping, working, entertaining, storage, or a combination?
- Connection to the house: Should the addition open directly to the kitchen, hallway, primary suite, or backyard?
- Future use: Could an office become a bedroom, or could a guest area support aging family members later?
- Non-negotiables: Which features must remain, such as a brick exterior, existing windows, a particular ceiling height, or direct access outdoors?
Field perspective: An addition should solve a daily inconvenience, not simply create a larger version of the same layout.
Building out versus building up
Most East Texas homeowners compare a ground-level addition with a second-story addition. Building out is often simpler when the lot has usable space, because the new foundation and roof can be designed independently and connected to the existing house. Building up preserves yard area, but the existing structure must support another level, and the project may involve more extensive roof removal, structural reinforcement, stair planning, and disruption inside the home.
A design-build contractor evaluates the lot, setbacks, drainage, existing foundation, roof geometry, and utility routes before recommending a direction. The answer isn't always the option with the smaller footprint. It's the option that delivers the needed function without creating structural and permitting problems that overwhelm the budget.
Planning Your Addition Budget and Permits
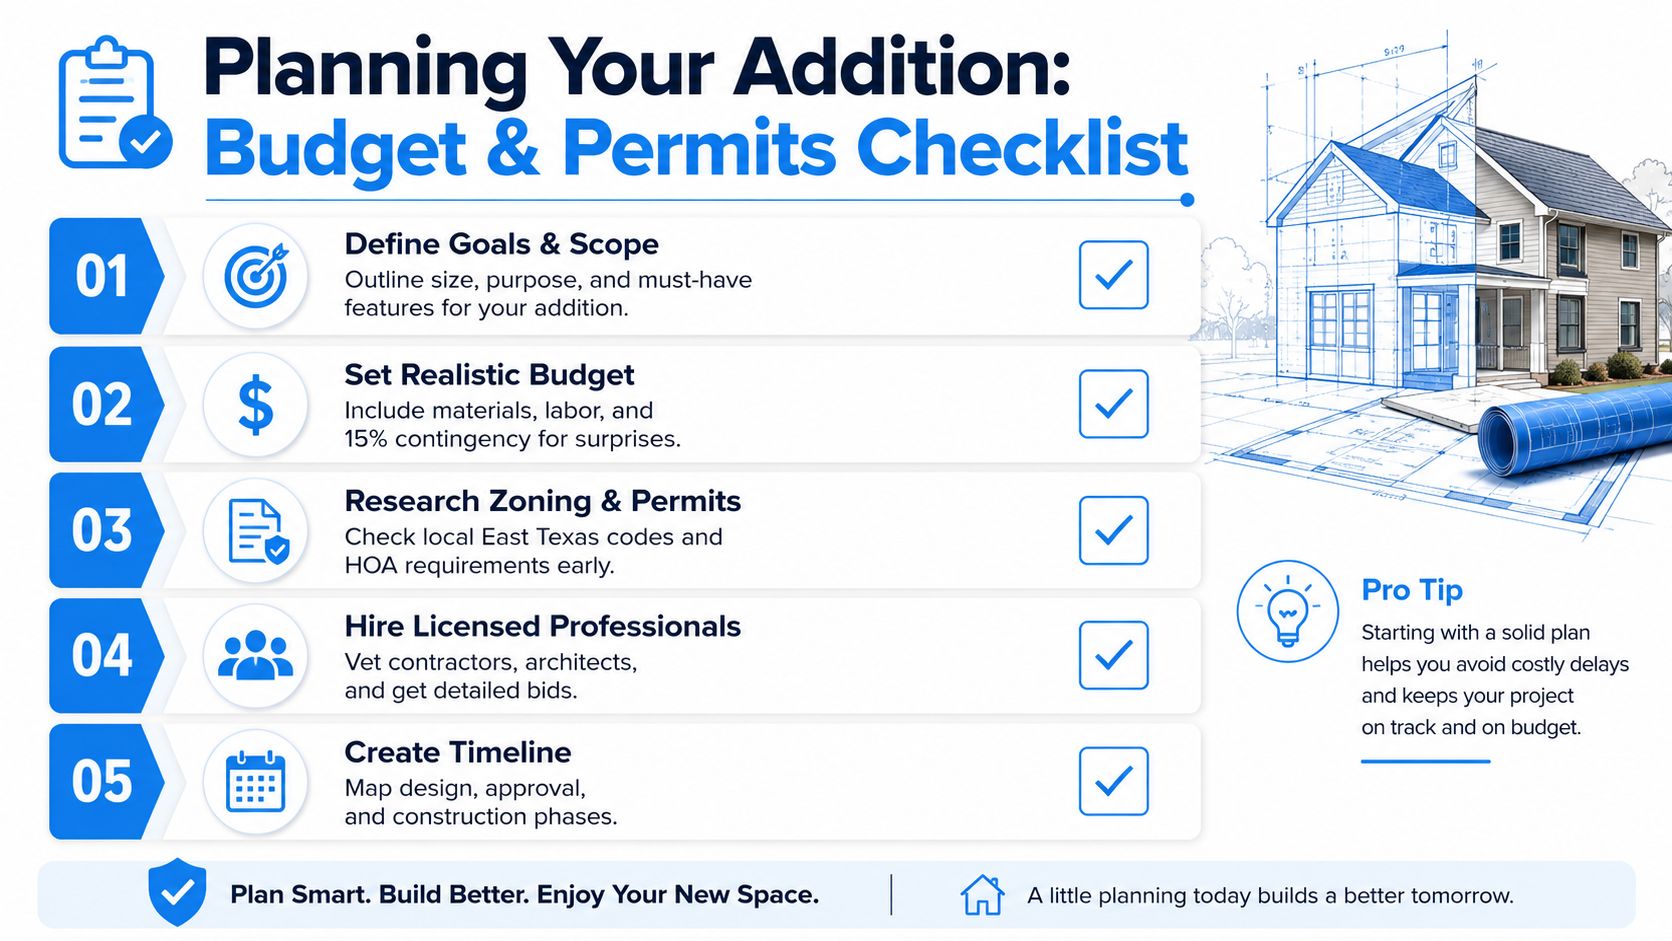
A realistic addition budget begins with scope, not a finish catalog. Before anyone develops detailed drawings, decide whether you're planning a small room, a primary suite, a larger common area, a porch conversion, or a substantial expansion. The size and shape of the addition affect foundation work, roof complexity, heating and cooling, windows, electrical service, plumbing, and interior finishes.
Industry cost guides for 2026 estimate about $80 to $200 per square foot for building out, compared with about $300 to $500 per square foot for building up. The same home addition cost guide places a 10×10 room addition at roughly $12,500 when built out and about $40,000 when built up. National summaries place the average home addition around $51,000, while second-story additions average about $175,000, though your site and scope may differ substantially.
Set the budget before detailed design
Give the designer or builder a target investment before plans become elaborate. That target isn't a final price, but it creates a boundary for decisions. A simple roofline, standard window sizes, and a short plumbing run may preserve funds for cabinets or flooring. Complicated roof transitions, extensive foundation work, premium fixtures, or major changes to the existing home may consume the budget before finishes are selected.
Ask for an estimate organized by scope rather than one unexplained total. It should identify site work, foundation, framing, roofing, windows and doors, mechanical systems, insulation, drywall, finishes, permits, and allowances. For a useful comparison of local planning considerations, review this guide to addition cost per square foot.
Account for East Texas approvals
Permit costs rarely come from one line item. Depending on the jurisdiction and project, the approval package may include a base building permit, plan review, and separate electrical, plumbing, or mechanical permits. Some projects may also involve impact or development fees. Independent fee guidance places a typical residential addition permit in the range of about $500 to $3,000 or more, while total government fees can go considerably higher when multiple filings are required. The home addition permit and plan review guide also stresses that review timelines can stretch from weeks to months as complexity increases.
Check the applicable city or county requirements, property setbacks, flood or drainage concerns, and any HOA design rules before finalizing the footprint. A permit-ready plan should show the addition's relationship to the existing house, structural details, utilities, roof connections, and exterior materials.
| Item | What to Budget For | East Texas Tip |
|---|---|---|
| Scope and design | Measurements, plans, engineering, and selections | Confirm setbacks and drainage before committing to the footprint. |
| Site and foundation | Clearing, excavation, concrete, reinforcement, and access | Have the builder discuss clay soil movement and water management. |
| Structure and roof | Framing, load connections, roofing, flashing, and exterior matching | Resolve roof geometry on paper, not after framing starts. |
| Utilities and finishes | Electrical, plumbing, HVAC, insulation, drywall, flooring, and trim | Plan HVAC capacity and bathroom ventilation early. |
| Approvals and overhead | Building, trade, plan review, and possible development fees | Ask which fees are included and who submits each application. |
Site Prep Foundation Framing and Roof Tie In
Construction should follow the load path from the ground upward. The crew protects the existing home and landscaping, confirms the layout, establishes finished floor elevations, and identifies where equipment, materials, and temporary access will go. Poor site control can damage driveways, compact the wrong soil, or leave stormwater moving toward the new foundation.
East Texas clay deserves careful attention. The builder needs to understand the soil conditions, drainage pattern, excavation requirements, and foundation design before concrete arrives. The foundation isn't just a platform for the room. It transfers the new walls and roof loads into the ground, so reinforcement, anchor bolts, elevations, and connections need to match the engineered plans.

Build upward in a controlled sequence
After the foundation work passes the required inspection, framing establishes the floor, walls, openings, and roof structure. The crew must connect the addition to the existing house without treating the old structure as an unknown. Wall intersections, headers, floor transitions, and roof loads all need a documented path into the foundation.
A code-violation survey found foundation-related errors commonly associated with improper reinforcement or support of rebar at 55% and improper anchor bolts at 53%. Those figures appear in the ICC and NAHB code-violation survey, and they illustrate why homeowners should ask whether reinforcement and anchorage were installed according to the plans before concrete work disappears from view.
Don't judge structural quality by neat drywall or attractive siding. Ask to see the framing and connection work while it remains accessible, and rely on the plans, inspections, and qualified professionals rather than trying to approve structural details yourself.
Treat the roof tie-in as a waterproofing system
The roof junction is one of the most failure-prone parts of an addition. The existing roof framing must be checked before new rafters or trusses place additional load on it. At the junction, valley or step flashing should create a water-shedding system. Caulk alone isn't a substitute for correctly layered flashing.
A practical roof tie-in sequence may include a valley board or nailer over the old roof deck, carefully cutting the existing roof along marked lines, and extending new shingles at least 1 ft onto the old roof deck, as described in this roof tie-in construction reference. The exact detail depends on the roof design and existing conditions, but the principle remains consistent: use properly integrated materials and overlapping layers, not surface sealant as the primary defense.
The following video provides a visual reference for the type of roof connection being discussed:
Once the roof is weather-tight, the exterior envelope can proceed with sheathing, housewrap, windows, doors, and siding or masonry that relates to the original home.
Utilities Insulation and Interior Finishes That Last
The interior sequence starts only after the shell can keep out weather. Electrical, plumbing, and HVAC rough-ins must be coordinated before insulation covers the walls and ceilings. A bathroom addition, for example, needs drain locations, water supply, exhaust ventilation, lighting, receptacles, and access for future service. Moving one wall after rough-in can affect every one of those systems.
HVAC deserves early attention in East Texas. A new room changes the conditioned area, and extending a nearby duct may not provide balanced comfort. The contractor should evaluate equipment capacity, return-air needs, duct routing, and thermostat placement before the ceiling is closed.

Close the walls only after inspections
The practical order is rough electrical, plumbing, and mechanical work, followed by required inspections, then insulation, drywall, tape and texture, primer, flooring, cabinets, trim, fixtures, and final paint. Each trade depends on the previous one. Installing flooring before drywall creates avoidable damage, while insulating before rough-in approval can hide defects that become expensive to correct.
Moisture control matters as much as thermal comfort. Bathroom exhaust should discharge properly, wet areas need compatible backing and waterproofing, and exterior penetrations must be sealed as part of the envelope rather than patched casually after finishes are installed.
Roof-edge connections also deserve a documented inspection. NAHB guidance identifies critical wind-uplift zones within 8 ft of roof edges and corners and recommends hurricane ties or straps on every rafter or truss, with the connector manufacturer's specified fastener type, quantity, and length. That guidance is summarized in the earlier ICC and NAHB fastening reference.
Use a written punch list
Before final payment, walk the addition with the plans and contract in hand. Check door swings, window operation, trim joints, paint coverage, flooring transitions, cabinet alignment, fixture operation, HVAC airflow, drainage around the foundation, and exterior flashing. Record incomplete items in writing, assign responsibility, and confirm how warranty or service requests will be handled.
Sample Timeline Milestones and Common Pitfalls to Avoid
A home addition schedule has two calendars. The first covers decisions, drawings, engineering, and approvals. The second covers demolition or site work, foundation, framing, enclosure, rough-ins, finishes, and inspections. If the first calendar remains unfinished, the construction calendar can't run predictably.
A workable East Texas sequence looks like this:
- Discovery and site review: Clarify the purpose, inspect the existing home, review the lot, and establish a target budget.
- Design and engineering: Develop the layout, exterior connection, structural approach, utility plan, and material selections.
- Permit submission and review: Submit the required plans and respond to jurisdiction questions or corrections.
- Preconstruction scheduling: Confirm trade availability, order materials, protect the site, and establish communication routines.
- Site work and foundation: Complete layout, excavation, reinforcement, concrete, inspections, and any required cure period.
- Framing and roof enclosure: Build the structure, connect loads, install the roof, and complete the weather barrier.
- Rough utilities and interior build-out: Install electrical, plumbing, HVAC, insulation, drywall, flooring, cabinetry, trim, and fixtures.
- Final inspections and punch list: Correct unfinished work, complete approvals, clean the site, and document closeout items.
Permit costs are a common source of confusion because homeowners may hear one building fee while the project carries separate trade permits and plan review charges. Current independent guidance describes residential addition permit costs ranging from about $500 to $3,000 or more, with some projects reaching much higher total government fees after all filings are counted. The permit timeline and cost explanation is useful because it focuses on fee structure rather than presenting one universal price.
Watch the decisions that create delays
The most damaging changes happen after the structure is underway. Moving a window after framing affects the opening, exterior materials, electrical placement, and interior finishes. Changing a bathroom location after plumbing rough-in may require revised drawings, new inspections, and rework.
Keep a written decision log with approved plans, allowances, change orders, selections, inspection results, and open questions. Review progress at meaningful milestones, including foundation reinforcement, framing, roof flashing, rough utilities, insulation, and final punch-list work.
Schedule rule: A delivery date isn't a schedule unless the responsible trade, required inspection, and material status are clear.
For more detail on the factors that influence the schedule, use this guide to how long a home addition takes. If work doesn't match the approved plans, water is entering at the roof connection, or structural questions remain unanswered, pause the affected work and request clarification from the builder or design professional before the next layer covers it.
When to Hire a Contractor and Next Steps in East Texas
A handy homeowner may handle finish painting, shelving, hardware, or selected trim work when the contract and inspection requirements allow it. Foundations, structural framing, roof tie-ins, electrical, plumbing, HVAC, and permit coordination are different. Those tasks affect safety, weather resistance, code compliance, and the performance of the existing home.
A contractor should be licensed and insured as required for the work, provide a clear scope, identify who manages design and permits, and explain how changes are priced. Ask who will be on site, which trades are subcontracted, how inspections are scheduled, and what documentation you'll receive at completion. Homeowners comparing local options can review contractors in Tyler, Texas and evaluate each proposal against the same scope.
Home Pro's Remodeling & Repairs uses a four-step design-build workflow that starts with an initial meeting and target budget, develops design and construction details, schedules the work, and manages construction. The company serves Tyler and nearby East Texas communities with on-site consultations, free estimates, same-day quotes, financing options, and residential remodeling and addition services.
The next step is straightforward. Write down the rooms and functions you need, collect a few photos of the existing home, identify your preferred budget range, and request an on-site review. A qualified team can then test the idea against the lot, clay soil, roof, utilities, permitting requirements, and the way your household lives.
Home Pro's Remodeling & Repairs can help you plan an East Texas addition from the initial site consultation and target budget through design, permitting coordination, scheduling, and construction. Visit Home Pro's Remodeling & Repairs to request a free onsite estimate and discuss the addition your Tyler-area home needs.