
A bathroom can feel manageable until a familiar routine starts requiring help. Maybe an older parent has begun gripping the towel bar to step out of the tub, or a spouse recovering from surgery can't safely turn between the toilet and shower. The room may look fine, but the way it's arranged can make everyday tasks risky.
Bathroom remodeling for handicap accessibility works best when it starts with the person who'll use the room, not a generic fixture list. A safer layout can support independence now and make future changes less disruptive, while still looking like part of a home rather than a medical facility.
Table of Contents
- Why Bathroom Remodeling for Handicap Accessibility Matters Now
- How to Tell What a Specific User Actually Needs
- Key Dimensions and Clearances to Plan Around
- Building the Safer Bathroom Step by Step
- Choosing Between Interim Fixes and a Full Remodel
- Budgeting, Permits, and Working With a Contractor
- A Practical Accessibility Remodel Checklist
Why Bathroom Remodeling for Handicap Accessibility Matters Now
A homeowner in Tyler might be planning ahead for an aging parent, adapting a bathroom after an injury, or making the house easier to use over time. In each case, the immediate question is practical: can the person enter the shower, transfer safely, reach the controls, and get back out without relying on an unstable surface?
That kind of planning is already common. In a 2024 AARP Home and Community Preferences Survey of 3,090 U.S. adults, 75% wanted to remain in their homes as they aged. Among older adults, 43% expected to modify their homes for future physical limitations; of those anticipating changes, 72% identified bathroom upgrades, including grab bars and nonslip tile. AARP's 2024 survey also found that many respondents expected to improve access into or around the home.
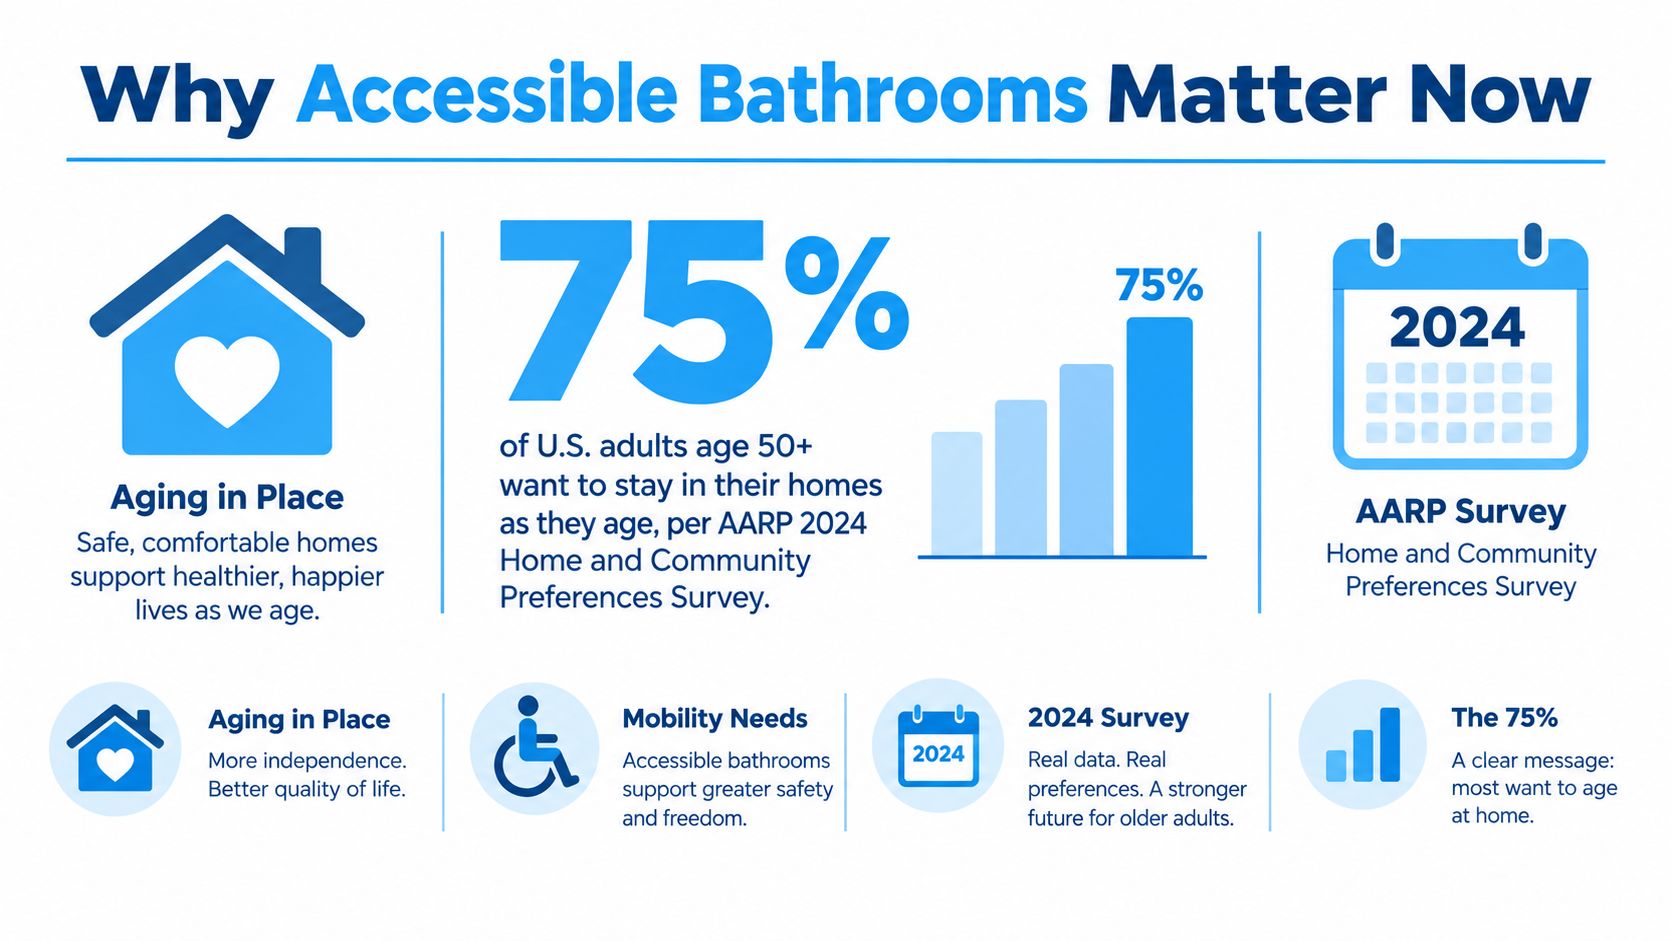
Those findings make accessibility a mainstream remodeling consideration, not a niche concern. Yet the right solution differs from one household to another. A homeowner who uses a walker may need a safer shower threshold and well-placed support; a wheelchair user may need a wider entry and room to maneuver; someone receiving caregiver assistance may need space beside the shower seat.
Plan around daily use, not a clinical look
Accessible design doesn't require a bathroom to feel institutional. Grab bars can coordinate with faucets, a fold-down seat can tuck away, and slip-resistant flooring can complement the rest of the room. The design succeeds when it makes routine movements safer without adding features the occupant doesn't need.
Treat the project as a coordinated remodel rather than a quick swap of a shower or toilet. Door swing, plumbing locations, wall reinforcement, drainage, lighting, and the user's transfer method all affect whether the finished room works. Planning those elements together can also avoid disruptive changes later, especially when a broader renovation is already underway.
How to Tell What a Specific User Actually Needs
A wheelchair user reaches the toilet, but the vanity blocks the side needed for a transfer. That is the kind of conflict an assessment should catch before demolition. Start with the occupant's movements, assistance, and equipment, then decide which standards and features fit the home.
The Americans with Disabilities Act (ADA) applies to public accommodations and certain covered facilities. Its standards aren't a universal checklist for private homes. A residential bathroom can meet a chosen benchmark and still make a transfer difficult; useful accessibility improvements don't always require a commercial-restroom layout.
The U.S. Access Board's guidance on toilet rooms summarizes federal research showing that fewer than half of U.S. households with mobility disabilities report having a bathroom large enough for wheelchair use, and fewer than 45% report having grab bars. Assess the occupant and room together before buying anything labeled “ADA.”
Start with the person and the routine
Walk through daily bathroom tasks with the resident and, when involved, their caregiver. Record where assistance is needed and where balance or transfers become difficult:
- Mobility equipment: Identify the wheelchair, walker, cane, or other aid used in the bathroom. Measure that equipment rather than assuming a standard footprint.
- Transfer technique: Establish which side the user transfers from, whether they step in with support, and where assistance is needed.
- Caregiver access: Check where a helper stands during toileting and bathing. Space occupied by equipment cannot also serve as working room.
- Reach and controls: Check access to the shower valve, handheld shower, towels, and storage without twisting or leaning.
- Entry and movement: Record the door swing and pinch points between fixtures, including where the mobility aid rests during a transfer.
- Safety and emergency needs: Identify support needed during bathing and how help could reach the occupant after a failed transfer.
Use the actual bathroom and usual mobility aid for this assessment, without asking the resident to attempt an unsafe movement. A drawing can miss a door blocking the approach or a proposed bar sitting beyond a comfortable grip.
The breakdown of ADL support for aging in place can help match each bathroom task to the assistance the occupant receives.
Bring those findings, room measurements, and the target budget to the contractor consultation. Prioritize transfer access and fall prevention, then separate work needed now from improvements that can wait. An interim fixture change has limited value if a later layout change will require removing it.
Key Dimensions and Clearances to Plan Around
A curbless shower can still leave a wheelchair user short of usable entry space. Choose the shower configuration before sizing the enclosure: a transfer shower accommodates movement onto a seat, while a roll-in shower provides an open wheelchair approach. Removing the curb alone does not establish safe entry or turning room.
The U.S. Access Board's shower and bathing room provisions give these benchmarks for the configurations below:
| Shower Type | Clear Interior | Minimum Entry | Maneuvering Clearance |
|---|---|---|---|
| Transfer shower | 36 by 36 inches | 36 inches | 36 by 48 inches, measured from the control wall |
| Roll-in shower | 30 by 60 inches | 60 inches wide | 30 by 60 inches adjacent to the open face |
Treat those dimensions as a starting point for layout decisions. Confirm which requirements apply to the project, then account for the occupant's transfer method. Seats, doors, trim, and controls can leave an enclosure that meets minimum dimensions awkward to use.
Measure the finished room, not the framing
Specify clearances to finished surfaces before construction. Backer board, waterproofing, tile, curbs, and trim consume space; allowing for them early avoids discovering a tight opening after installation. Check the completed clearances, too. Door frames and the installed door can reduce the usable passage shown on a drawing.
Toilet dimensions also depend on the applicable standard. The Department of Justice's ADA regulations and standards distinguish the 2010 ADA Standards centerline ranges, 16 to 18 inches from the side wall in a wheelchair-accessible compartment and 17 to 19 inches in an ambulatory-accessible compartment, from the exact 18-inch requirement in the 1991 Standards.
For a private East Texas home, a commercial compartment dimension does not establish whether the occupant can transfer safely.
Before committing money to fixture relocation, check whether the proposed spacing supports the transfer and leaves room for assistance. Spending on a larger enclosure has limited value if the toilet approach remains cramped.
Keep jurisdiction-specific dimensions separate from this residential layout work. The related Florida handrail height requirements illustrate that distinction for handrails elsewhere on a property; they should not determine bathroom support placement or replace review of East Texas requirements.
Building the Safer Bathroom Step by Step
A safer bathroom takes coordinated decisions before finishes go on. The order matters: first establish movement and transfers, then place support, then resolve water management and surfaces. Swapping in a grab bar or textured tile without checking the room layout can leave the main hazard untouched.

Set movement and support before closing the walls
Start by mapping the toilet, vanity, shower entry, and door swing. Check where the user stands or turns, where equipment needs to fit, and whether clear floor areas conflict. Don't rely on a generic fixture package to establish those relationships.
Next, mark every intended grab-bar location while the wall framing is accessible. Install structural blocking before the walls close, then verify the bar position against the occupant's grip and transfer method. Under the U.S. Access Board's grab-bar provisions, horizontal bars are set 33 to 36 inches above the finished floor to the top of the gripping surface, with 1½ inches of wall clearance. The gripping area must remain unobstructed. In standard shower compartments without a seat, separate bars are required on three walls under the referenced standard.
Site check: If the plan includes a seat, soap shelf, or handheld shower bracket, confirm that each one stays clear of the user's grip and transfer path before tile is installed.
A bench or fold-down seat can make bathing more manageable, but the choice should follow the occupant's routine. Before selecting equipment, compare permanent and portable options with a 2026 shower chair retailer guide. For tile selection, consider wet traction, maintenance, and the finished slope together, rather than choosing a surface by appearance alone. Homeowners can use this guide to choosing shower tile as one starting point for discussing material options.
Coordinate entry, water, and construction access
A roll-in layout isn't a shower without a curb. Entry width, turning clearance, drainage slope, waterproofing continuity, and the transition to the rest of the floor must work together. A low or zero threshold can require structural floor changes so water drains correctly without creating an awkward slope or a pooling problem.
Choose slip-resistant, low-glare flooring, but don't expect texture alone to prevent falls. Lighting, drainage, grout condition, and loose bath mats also influence traction. A handheld shower and reachable controls can reduce the need to lean or twist; thermostatic or pressure-balancing protection can help manage temperature changes.
The jobsite sequence deserves the same care as the finished layout. Ask for a pre-demolition measurement audit, a concealed-work check while blocking and plumbing remain visible, and a final trial with the occupant's mobility equipment. Also agree on a temporary bathing arrangement before demolition begins. A beautiful new shower doesn't help if the user has no safe way to bathe during construction.
Choosing Between Interim Fixes and a Full Remodel
A full renovation isn't the only path to a safer bathroom. The right scope depends on the immediate risk, the room's condition, the household budget, and whether the bathroom can be out of service during construction.
HUD research found that easy-access bathrooms were an unmet need for as many as 566,000 U.S. households with activity limitations. Separate remodeling data cited in the same research summary indicate that 68% of surveyed homeowners considered special needs in bathroom projects, while 47% expected those needs to arise five or more years ahead. The Harvard Joint Center for Housing Studies report frames accessibility as both an immediate need and a planning consideration.
Match the scope to the risk
| Approach | What it can address | Where it falls short |
|---|---|---|
| Interim safety changes | Reduce immediate hazards with appropriate portable supports, a nonslip surface, a raised toilet seat, or a handheld sprayer | Won't create needed wheelchair clearance or correct an unsafe room layout; suction-cup bars shouldn't be treated as structural grab bars |
| Phased remodel | Add wall blocking, prepare plumbing, improve lighting, or handle selected safety work while planning later finishes | Requires careful sequencing so early work isn't undone, and the bathroom may remain constrained until later phases |
| Full reconfiguration | Rework entry, shower, clearances, fixtures, and finishes as one coordinated project | Takes more planning and can leave the room unavailable during construction |
A portable aid can be useful as a temporary measure, but check the manufacturer's instructions and the user's needs. Don't fasten a weight-bearing grab bar to tile or drywall without structural support. If an older bathroom is being painted or retiled before a larger remodel, ask whether adding blocking now is practical, even if the bar itself will be installed later.
Phasing can make sense when plumbing or framing work is needed but a complete redesign has to wait. Prioritize hidden work that would be difficult to add later, such as reinforcement and appropriate rough-ins, then plan finish work around a safe bathing arrangement. Before committing to a timeline, use a bathroom remodel planning guide to organize decisions about scope, sequence, and disruption.
Budgeting, Permits, and Working With a Contractor
A curbless shower can look straightforward on a drawing, then require floor modifications once the contractor checks the framing and drain location. Tile, waterproofing, plumbing relocation, seating, and fixtures also affect the price. Budget for the coordinated work, including what must happen beneath the finishes to make the room safe and usable.

Set the target budget before approving the layout. Retaining plumbing locations may control costs, but keeping a fixture in place is poor value if it leaves the occupant struggling to transfer. Put safer transfers and fall prevention ahead of finish upgrades. Ask the contractor to separate work needed now from work that can wait, with later phases priced and sequenced to avoid tearing out completed finishes.
Use this guide to bathroom remodeling costs to understand the variables before comparing estimates.
Confirm code, scope, and jobsite arrangements
Public-facility accessibility rules and a private occupant's needs serve different purposes. The Department of Justice's ADA regulations distinguish requirements for covered facilities; they should not become a generic checklist for every home bathroom. In East Texas, confirm the applicable permits and building-code requirements with the contractor and local jurisdiction before construction. Then make sure the proposed layout supports the person who will use it.
Ask for an estimate that identifies structural blocking, waterproofing, drainage slope, door clearance, and finished measurements. Clarify who checks concealed work and how changes discovered during demolition will be approved and priced. Agree on temporary bathing arrangements and when the bathroom will be unavailable.
Home Pro's Remodeling & Repairs offers bathroom remodeling and on-site consultations as an East Texas design-build option. Use that consultation to establish a workable scope, then compare local bids against the same construction requirements.
The video below provides a visual reference for discussing layout and construction with your contractor.
A Practical Accessibility Remodel Checklist
Before demolition, treat the bathroom as a set of movements, not just a collection of fixtures. Measure how the occupant enters, turns, transfers, and reaches. Then make sure the construction plan includes checks at the moments when corrections are still possible.

Before demolition
- Record the user's routine: Note mobility equipment, transfer technique, caregiver needs, and preferred shower entry.
- Measure the actual room: Include door swing, approach routes, fixture locations, and any pinch points.
- Decide what must be reinforced: Mark intended bar locations and confirm that the walls can support them.
- Agree on interim bathing: Plan where and how the occupant can bathe while the room is under construction.
During construction and at handover
- Check the layout before finishes: Confirm that framing and rough plumbing preserve the intended clearances.
- Inspect concealed work: Verify blocking and waterproofing before the walls close.
- Measure finished conditions: Recheck clear space and entry after tile, doors, trim, and fixtures are installed.
- Test the room with the user: Have the occupant try the transfer, reach the controls, and move with their usual mobility aid before the job is considered complete.
Accessibility work is easiest to coordinate during a planned remodel, when walls are open and plumbing changes are already being considered. The priority isn't installing every feature in a checklist. It's resolving the movements that create risk, then making sure the finished room supports the person who will use it.
If you're planning an accessible bathroom in Tyler or elsewhere in East Texas, contact Home Pro's Remodeling & Repairs to discuss an on-site consultation and a scope aligned with your target budget. Bring your measurements, the occupant's mobility needs, and your questions about transfers, reinforcement, and temporary bathing so the first conversation can focus on practical decisions.